

What Can You Build with the Car Chassis in the YRZtiles 106-Piece Magnetic Tile Set?
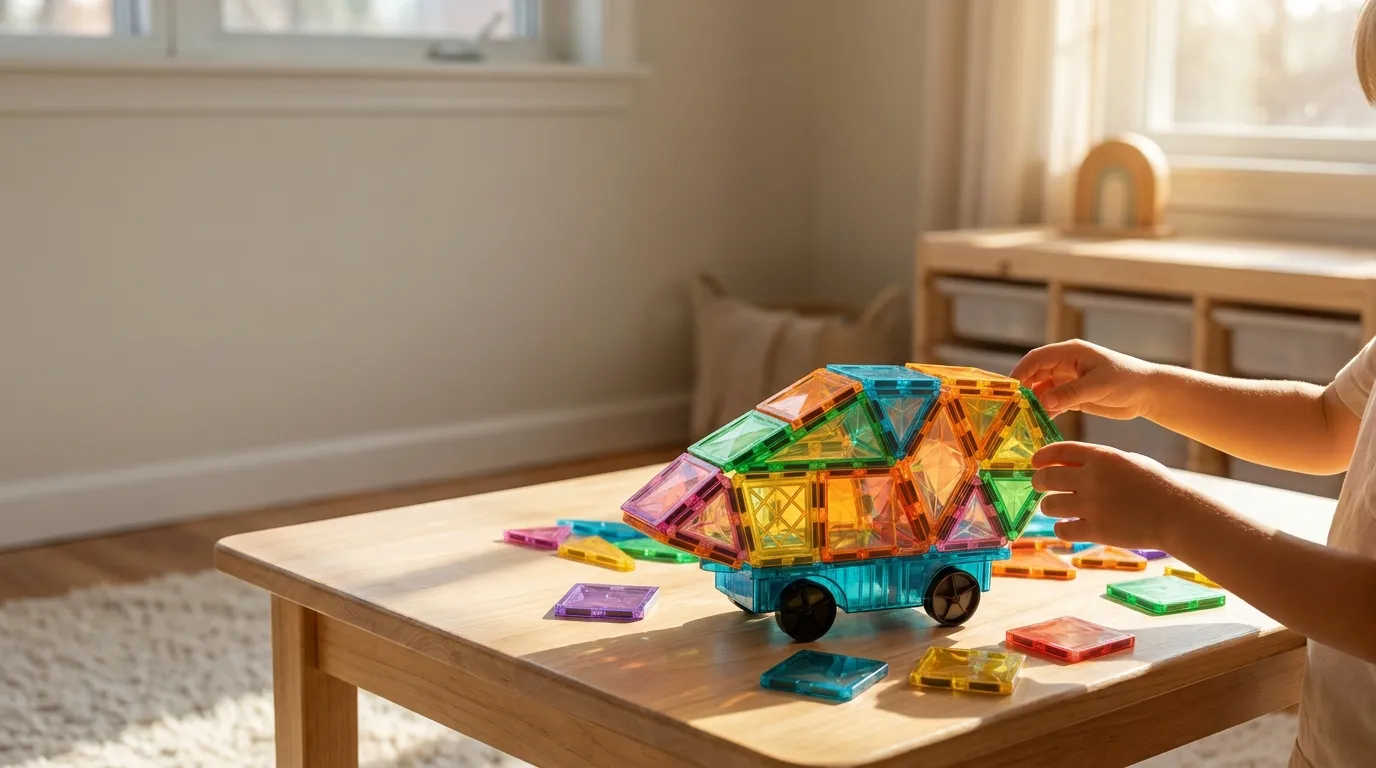
Ever find yourself looking at that rolling base and wondering what else it can do?
This guide looks at YRZtiles 106-piece magnetic tile car chassis builds: how to use one reusable chassis to create a series of vehicles, one at a time. The idea is simple: build a car or truck body, give it a little push to see how it moves across the floor, then gently take off the top structure. Now that same chassis is ready for the next adventure.
Every idea here uses the YRZtiles 106pcs STEM Magnetic Tiles and Building Blocks. Use only the tiles in your set, and plan for one rolling vehicle at a time.
Set Up the Chassis for a Stable Build
Think of the chassis as the foundation for each vehicle we build. When we first start, it helps to keep the vehicle body fairly low. A lower profile makes it much easier to see if it can move smoothly along the path we have in mind.
Here’s a little sequence we can follow:
- Start by placing the chassis on a clear bit of floor or a table.
- Then, we build a low vehicle body right on top.
- Give it a gentle push to see how it rolls along our imagined route.
- Once that’s working well, we can think about adding a roof, some side panels, or maybe a taller feature.
- After each bigger change, it’s a good idea to test it again.
- When we’re ready for a new vehicle, we just remove the top part, leaving the chassis ready for its next transformation.
Sometimes tiles don't quite line up. It's best not to force them. If two edges aren’t connecting easily, try rotating the tile a bit or finding a different spot for it.
Paper cards work well as pretend cargo, stop signs, or shop names. Keep heavier objects off the chassis itself.
Before and after playtime, it’s a good habit to take a quick look at all the pieces. If any tile has a crack, a seam coming open, a loose part, or a magnet showing, it’s best to set it aside and stop using it. And just a reminder, keep those tiles away from food, drinks, drains, pets, and younger children. Always take a peek at the product label for the most current guidance on age and supervision.
Eight Vehicle Ideas to Build One at a Time
These vehicle ideas are more like starting points, rather than strict models to copy. The shape, height, and details can change with each rebuild.
| Vehicle or activity | Build procedure | Play prompt |
|---|---|---|
| Simple car | Build a low body right over the chassis. We can add a roof once we see that the base rolls nicely. This is the most straightforward way to build a magnetic tile car on one chassis. | "Where does the car need to go first?" |
| Cargo truck | We can think about dividing the upper part into a front cab and a separate cargo area in the back. For pretend cargo, lightweight paper cards work beautifully. This is a magnetic tile cargo truck chassis build. | "What does the truck need to deliver?" |
| Excavator-inspired vehicle | We can build a low cab and then add something that looks a bit like a raised arm. It is a magnetic-tile excavator idea rather than a vehicle that actually scoops. | "Where should the arm go so the vehicle still looks balanced?" |
| School bus | A nice long, low passenger area built above the chassis works well. We can place paper stop cards around our play space for a magnetic tile school bus chassis activity. | "Which stop comes first, then next, and last?" |
| Ambulance | We can build a compact vehicle body for the ambulance, and then make a separate clinic. We’ll want the clinic entrance to be wide enough for the chassis to comfortably approach. This creates a magnetic tile ambulance and clinic build. | "Can the ambulance park right beside the clinic entrance?" |
| Fire engine | We can rebuild the top part to look like a fire engine. Setting up a little fire station and one destination building can make for a fun magnetic tile fire engine route activity. | "Which route gets to the building without a blocked turn?" |
| Delivery van | Creating a van body that’s either closed or partly open is fun. Numbering three to five paper cards and visiting them in order can become a magnetic tile delivery van sequencing game. | "Which delivery comes after number two?" |
| Mobile shop | We can build an open side or a counter area over the chassis. Parking it next to a customer area turns the build into a magnetic tile mobile shop activity. | "What does the shop sell today?" |
It’s often helpful to keep these work-vehicle models low enough so they can move freely along our planned route. If a raised arm or a roof seems to catch on other tiles nearby, it’s easy enough to just remove that upper section and test it again.
For the ambulance, fire engine, and school bus, building their destinations separately from the vehicle itself can add a nice dimension to play. A little clinic, fire station, school, or even a parking spot gives a reason to think about space and how to make entrances work well.
With the delivery van and mobile shop, paper cards used outside the build work well. These cards can show delivery numbers, a simple menu, or a shop name. It’s best to avoid using tape, glue, or labels directly on the tiles or chassis, though.
Turn Each Vehicle into a Route Activity
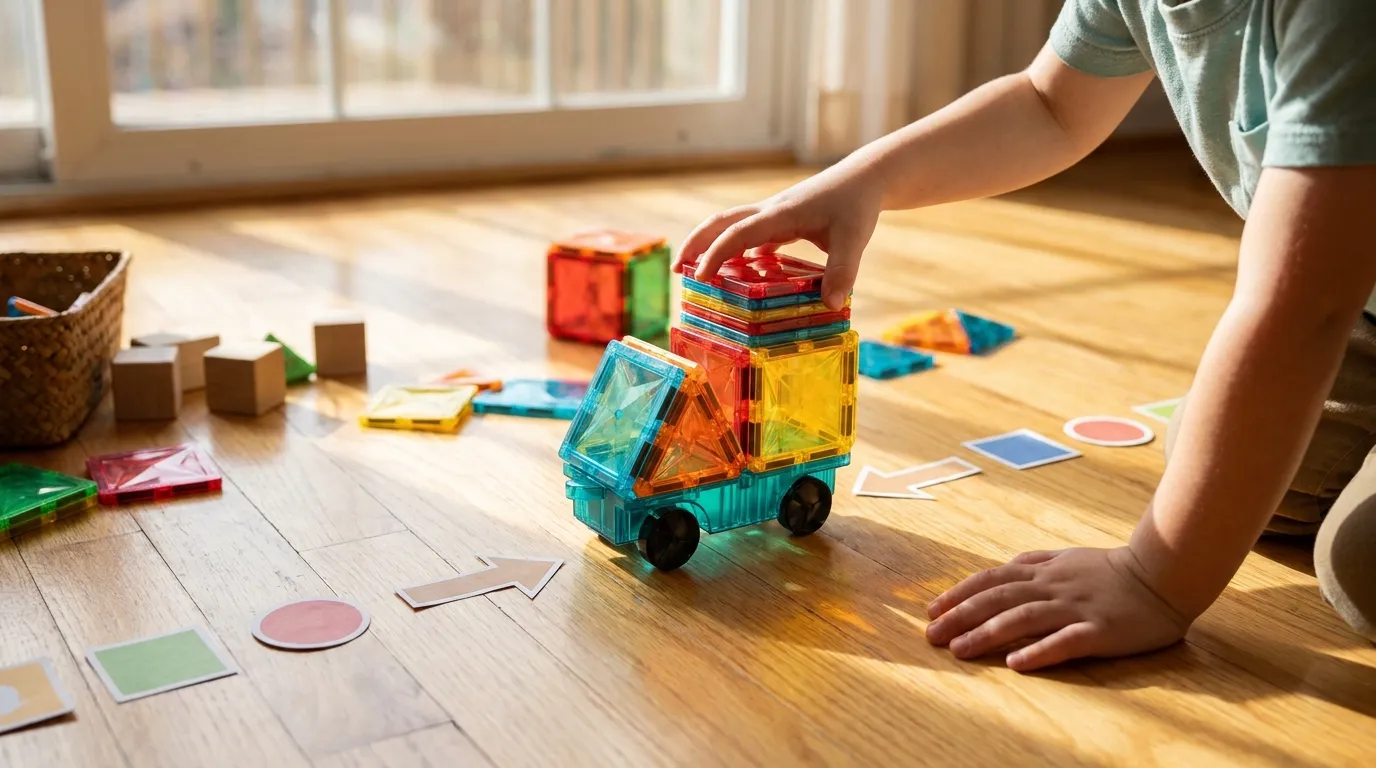
Once the vehicle body feels stable, we can start setting up some flat route features. Using tiles to suggest roads, parking spaces, buildings, and turn points can be engaging. Keeping the route fairly low ensures the chassis can move across or beside it without bumping into tall walls.
A magnetic tile road map with car chassis can often be thought of with four basic areas:
- A home base or a starting spot.
- A section of road with perhaps one or two turns.
- A destination, like a school, clinic, market, or station.
- A parking area or a finish line.
It can be helpful to give one instruction at a time. For instance, we might ask to drive from home to the market, and then from the market to the clinic. Adding a second destination usually works best after the first route has been successfully navigated.
For the school bus route, we can focus on ordered stops. Placing stop cards in a short line and asking to visit them in sequence is a great way to explore this. We can easily change the order of the cards after one route is completed.
The fire engine route offers a chance to think about planning around obstacles. Placing low tile buildings on either side of a route, leaving one clear path, and then asking which path gives the vehicle enough room can be quite a good problem-solving moment.
With the ambulance and clinic scene, you can turn the entrance into a small test. Building a clinic with an open approach and then moving the chassis toward it—if the vehicle can't quite reach the entrance, it is a natural prompt to widen or move the opening.
The cargo truck route can bring in choices about deliveries. We can put one paper cargo card at a warehouse area and one destination card at a shop. Then, we can talk about what the truck is carrying and where its next stop should be.
Caregiver Prompts and Reset Steps
When a child finishes a build or reaches a stop on their route, a single prompt can be very effective. It’s good to pause after they answer, and wait for them to act on that first instruction before offering another.
| Situation | Use this prompt |
|---|---|
| The vehicle will not move cleanly | "Which part could you remove or lower?" |
| The child is building a new vehicle | "What job does this vehicle need to do?" |
| The route is blocked | "Where could the road be wider?" |
| The child has finished a delivery | "Which stop should come next?" |
| Two designs look different | "How is the truck different from the car?" |
| The child is rebuilding | "What changed when the vehicle changed jobs?" |
Building three vehicles on one chassis works well in sequence. Start with a simple car, then remove its top. Rebuild the same chassis into a cargo truck. Then remove that body and turn it into a work vehicle. The sequence shows how much one base can do.
If a child enjoys comparing their designs, a simple record sheet can be a nice touch. We could have three headings: car, truck, and work vehicle. Under each, we might note one key feature, like "low roof," "cargo space," or "raised arm-like section."
Bringing the activity to a close with cleanup is a good routine. Separating the chassis from the upper build, gathering all the paper cards, and counting the tiles as they go back into storage helps in many ways. A complete count is especially helpful for spotting any missing pieces before our next play session.
For each session, choosing just one build idea and one route prompt often works best. Starting with the simple car or cargo truck can build confidence. Introduce a delivery sequence or a neighborhood map once rebuilding the upper body becomes a familiar task, rather than treating the chassis as a separate vehicle. For more play ideas, you might like to visit more YRZtiles play ideas or simply browse YRZtiles magnetic tile sets.