

Turn the YRZtiles Chassis into a Magnetic Tile School Bus
A school bus is not only a vehicle; it comes with a ready-made story. There is a first stop, someone is running late, and the route may somehow include the sofa even though the sofa was not on yesterday's schedule. With a few magnetic tiles and a small play area, families can turn that familiar rhythm into a build that is easy to recognize and fun to change.
Among the pieces in the YRZtiles 106pcs STEM Magnetic Tiles and Building Blocks set is one wheeled chassis. Here it becomes one low, school-bus-inspired model with window-style details and a calm route. The window pieces are decorative; they do not add seats, passengers, or school-route accessories. The bus lives in the story, where the timetable is always open to revision.
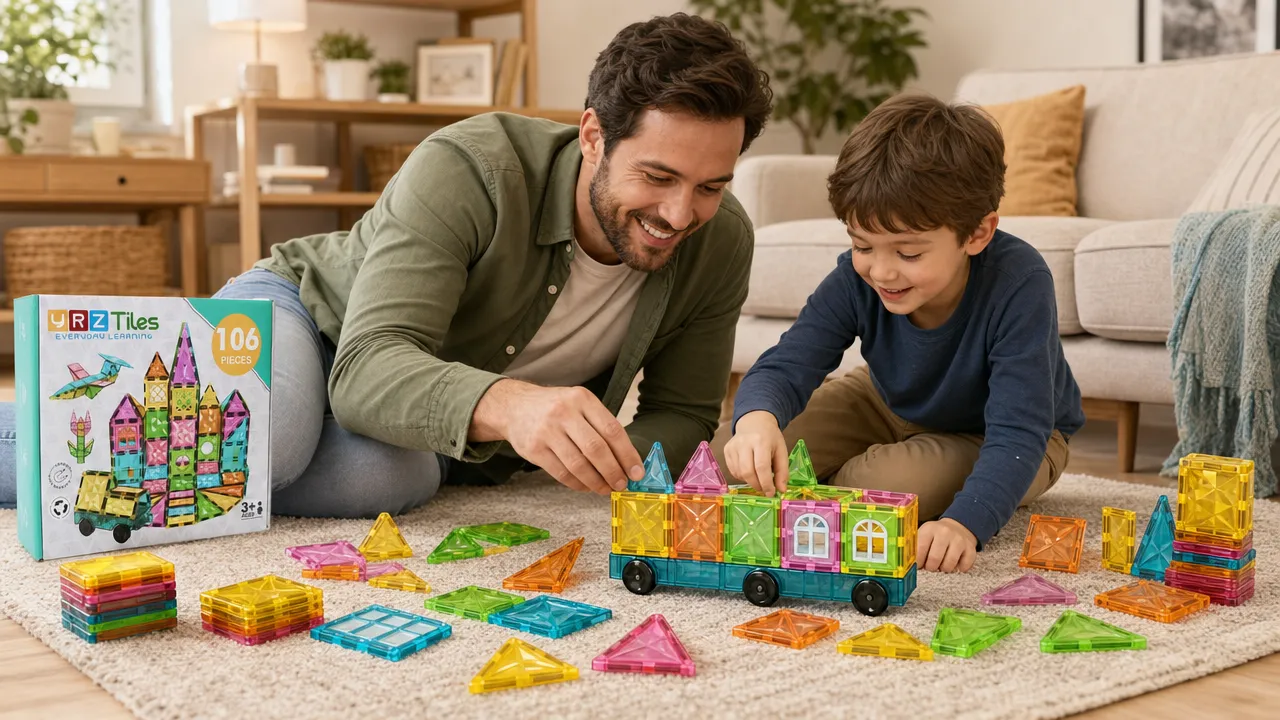
Set aside pieces for both the bus and its route
The quickest way to use every tile on the bus is to forget that it needs somewhere to go. Before building, reserve a small group of pieces for stops. Flat squares and rectangles can mark a home, park, library, or depot without creating large buildings that crowd the route.
For the bus itself, gather:
- The single wheeled chassis.
- Several squares and rectangles for a low, longer-looking body.
- One or more round-window, arched-window, or lattice-style squares for visual window details.
- One or two triangles for a front or roof accent, if wanted.
- A separate handful of flat tiles for stops.
Keep unused pieces in a container beside the play area. Children can visit this "bus parts shelf" when a design needs a change, while the main surface stays clear enough for the route.
Optional index cards, paper labels, crayons, painter's tape, toy figures, books, trays, or play food are household extras and are not included with the set. Use them beside the build rather than attaching them to the bus. A route works just as well with tiles alone.
Pick a route that fits today's space
You do not need a road across the entire room. Choose a layout that matches the available time and surface:
| Play space | A practical route |
|---|---|
| Table corner | Home, park, depot |
| Firm floor strip | Home, library, depot |
| Edge of a rug | Home and one stop on the rug; rolling check on the firm floor |
| Open weekend area | Home, park, library, and depot in a loose loop |
Place the stops far enough apart for one gentle movement between them, but close enough that a child can reach the whole route without crawling over loose tiles. Keep raised structures outside the travel lane.
Build a low body that reads as a bus
Place the chassis in the middle of the build area and choose which end will be the front. The choice establishes the direction of the story; it does not add steering or another movement feature.
1. Start with the lower side shape
Use squares and rectangles close to the chassis, following how the pieces naturally connect. Aim for a body that looks longer than it is tall. Add one side piece, look from a child's eye level, and then decide whether another piece helps.
Do not worry about closing every gap. An open top or open side can make the model easier to adjust and leave more tiles for stops. A short neighborhood bus is still a bus, especially if the driver has already announced the route.
2. Give the front a clear visual cue
Add a square, rectangle, or triangle at one end as a front panel or windshield-like suggestion. It is decorative, not functional. There is no need to create a steering wheel, door mechanism, driver's seat, or exact replica of a real school bus.
Ask the child to point to the front without explaining the answer. If they can do that, the cue is strong enough. If not, swap one shape or color rather than adding a complicated stack.
3. Add a row of window-style details
Place one or more window-style tiles along the side where they can be seen. They can match, alternate, or appear on only one side. A mixed row often looks cheerful and leaves room for children to make their own pattern.
These pieces suggest bus windows; they do not promise openings, seats, or places to insert toy passengers. If a child wants passengers in the story, optional toy figures can wait at the stops beside the route. They are not included with the set and should not be forced into the tile body.
4. Choose an open top, partial roof, or low roof
Look at the bus before adding anything overhead. Then choose the simplest option that suits the builder:
- Open top: Useful when play time is short or pieces are being saved for stops.
- Partial roof: Adds a bus-like line without enclosing the whole body.
- Low roof: Works when the sides already feel settled and the child wants a finished top.
Add roof pieces one at a time. If the roof makes the sides lean or turns every trip into a repair stop, take it off. An open-top bus can simply be having excellent weather.
5. Stop decorating while the shape is clear
Turn the model and look from both sides. Can the child identify the longer body, front, and window details? If yes, reserve the remaining tiles for the route. More pieces do not automatically make the bus easier to recognize.
This stopping point is especially useful in a shared build. Each child can choose one visible detail, then the group moves on to the story before the bus becomes a committee project with no departure time.
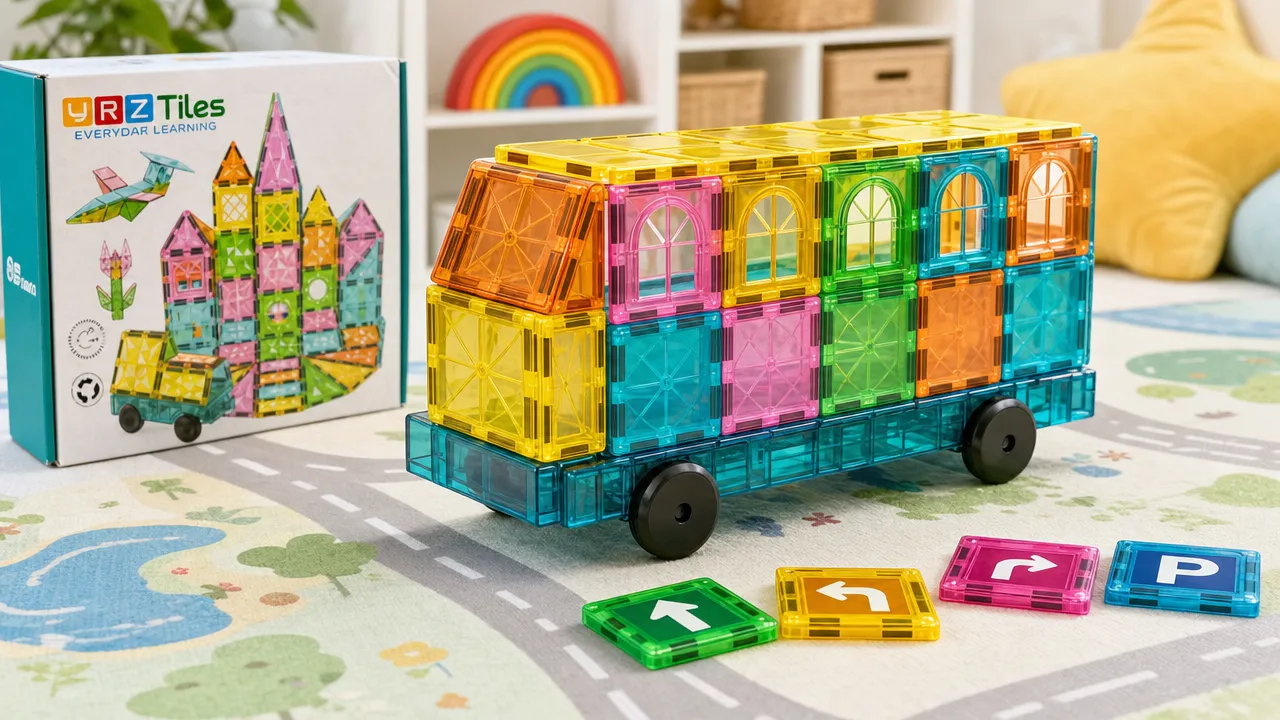
Give the bus a gentle route check
Before adding stop signs or optional props, clear a short path. Move the chassis gently from the planned home stop to the depot. Watch the body, roof, and window details. This is a practical check of the family's arrangement, not a speed, strength, or durability test.
If a piece shifts, park the bus and change one thing:
| What you notice | A simple revision |
|---|---|
| The roof moves | Remove it or cover only the middle section. |
| One side leans | Lower that side or use fewer pieces. |
| The front feels crowded | Keep one clear front panel and return the rest. |
| A window detail disappears | Remove a nearby decoration or change its position. |
| A stop blocks the route | Lay the marker flat or move it to the side. |
| The body uses too many tiles | Shorten the bus and save pieces for the destination. |
Run the same short route again after the revision. Comparing two versions lets children see what changed without making the activity feel like a pass-or-fail test.
Move the model by guiding the chassis or low body. Do not pull it by a roof piece, race it down a ramp, send it toward stairs, or load it with heavy objects. The bus is a magnetic-tile model for gentle pretend play.
Create a friendly route with four moments
A route becomes easier to follow when each stop has a simple purpose. Use flat tiles or optional paper cards to mark these four moments:
- Home: The bus begins beside a square marker or a small, low tile outline.
- Park: One flat tile can represent the entire park. The budget is remarkably efficient.
- Library: Two or three tiles can suggest a low entrance beside the route.
- Depot: The bus returns here before cleanup.
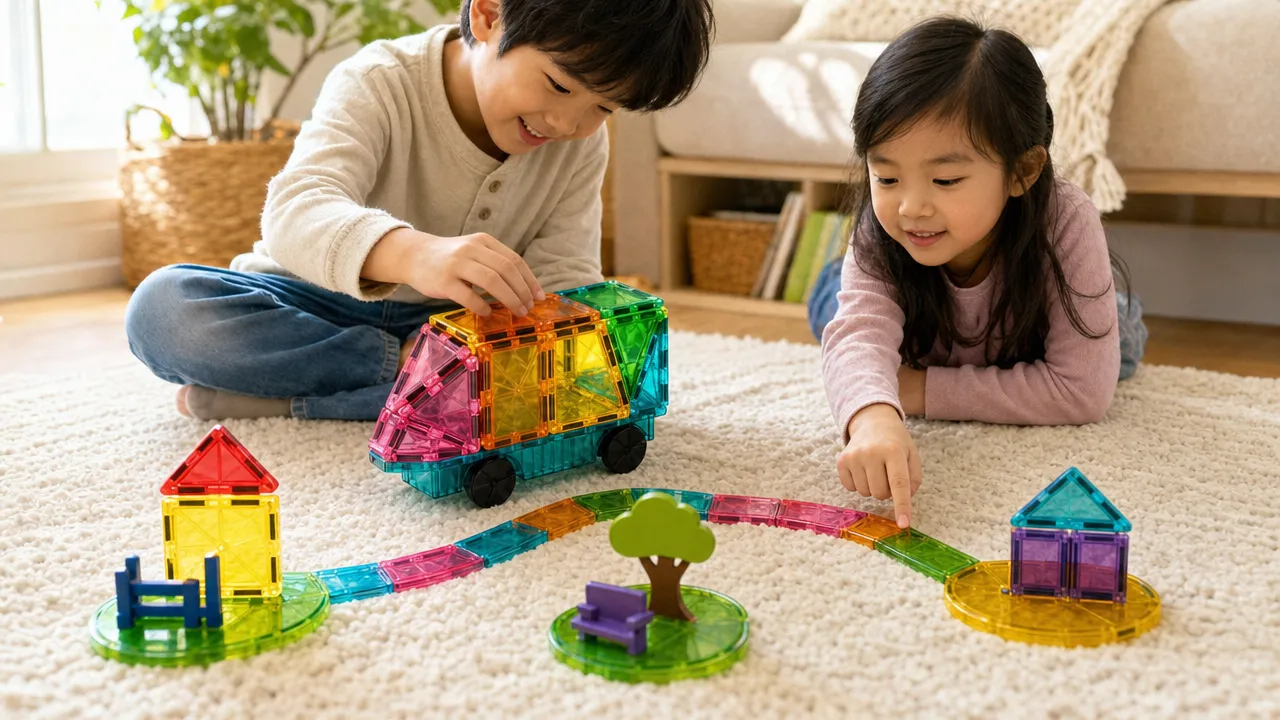
If four locations feel like too much, remove one. The order matters only as much as the family wants it to. A child can change the park to a bakery, move the library beside the couch, or declare that the depot is closed for a pretend lunch break.
Optional paper route cards can help a child remember the sequence. Write one place name on each card and set the cards beside the tile markers. Cards, pencils, and crayons are optional household items and are not included with the set.
Tell a morning-trip story
Start at Home, pause at the Park stop, continue to the Library, and finish at the Depot. One child can announce each stop while another moves the bus. A third can check that the next part of the path is clear.
Keep school references familiar and gentle. There is no need to turn the route into a lesson or ask children to perform academic tasks. The bus can pick up imaginary backpacks, wait for a sleepy passenger, or take the long way because someone forgot a pretend lunch.
Reverse the route for the trip home
After the first run, reverse the order. The depot becomes the starting point, and Home becomes the final stop. Switching the sequence creates a new round without rebuilding the vehicle or expanding the route.
For siblings, let one child handle the outbound trip and another drive the return. The route announcer can switch the cards or point to the next tile marker.
Add one manageable surprise
Choose a single event:
- The park stop moves because the floor needs to stay clear.
- The library closes, so the bus visits the bakery instead.
- A roof tile shifts, and the bus pauses at the depot for a redesign.
- Dinner is nearly ready, so the route takes a direct trip home.
One surprise gives the story energy. Five surprises usually produce a transport system that no adult can explain and no child intends to clean up.
Adapt the activity for real family schedules
For a ten-minute play window, build an open-top bus with one window detail, visit one stop, and return to the depot. The short version still includes making, moving, and finishing.
For a half hour, create three or four stops, revise the bus after one gentle route check, and swap roles for the return trip.
When pieces run low, protect the main idea: one chassis, a low body, one visible window detail, and two route stops. Everything else is optional.
Let cleanup become the final stop
Place the depot beside the storage container so the last trip leads naturally toward cleanup. Park the bus, collect any optional paper cards and household props, then gather flat route markers. Take the bus apart last so the story feels finished rather than suddenly erased.
Put the single chassis in its regular storage spot first. Sort remaining tiles into broad groups such as squares and rectangles, triangles, and window or specialty pieces. Ask each child to own one concrete task: gather stop markers, check under the table, or collect window pieces. "Help with the depot" usually gets a better response than "Clean up this entire transportation network."
If the child wants to remember the design, take a quick photo before disassembly. A phone or camera is an optional household item and is not included with the set.
Ages 3+. An adult should inspect pieces before play. Stop using any cracked, separated, or damaged piece, or any piece with an exposed or missing magnet. Keep magnet-containing pieces away from younger children. If magnet ingestion is suspected, seek immediate medical attention. The U.S. Consumer Product Safety Commission's magnet safety guidance provides additional family safety information.
A successful school-bus build does not need a perfect roof or a room-sized route. One recognizable vehicle, a few stops, a gentle revision, and a final trip to the depot create a complete play session. If the route reaches the sofa along the way, the transit authority can update the map tomorrow.