

Magnetic Tile Fire Engine Mission: Build the Vehicle and Plan the Route
A small patch of rug, a handful of tiles, and a child who has announced, "We need a vehicle," can turn an ordinary afternoon into a tiny town project. The good news is that the town does not need a four-lane highway, a giant garage, or a committee meeting before dinner.
With the YRZtiles 106pcs STEM Magnetic Tiles and Building Blocks, families can make one low, fire-engine-inspired vehicle and give it a short, calm route to follow. The 106-piece Classic set is for Ages 3+ and includes exactly one wheeled chassis, so this activity keeps the focus pleasantly simple: build one vehicle, visit a few pretend stops, park at the garage, and rebuild another day.
One chassis gives the play a natural rhythm. There is one vehicle out on the route, one builder deciding whether the roof should be flat or pointy, and one final stop before the pieces go back into storage.
Keep the mission deliberately non-alarming. This is a neighborhood-rounds story, not a simulation of a real fire or rescue. Do not use flames, spray water, practice emergency procedures, or ask the tile build to support a climbing ladder. The vehicle can check a paper sign, visit the park, deliver a friendly note, and return to its garage.
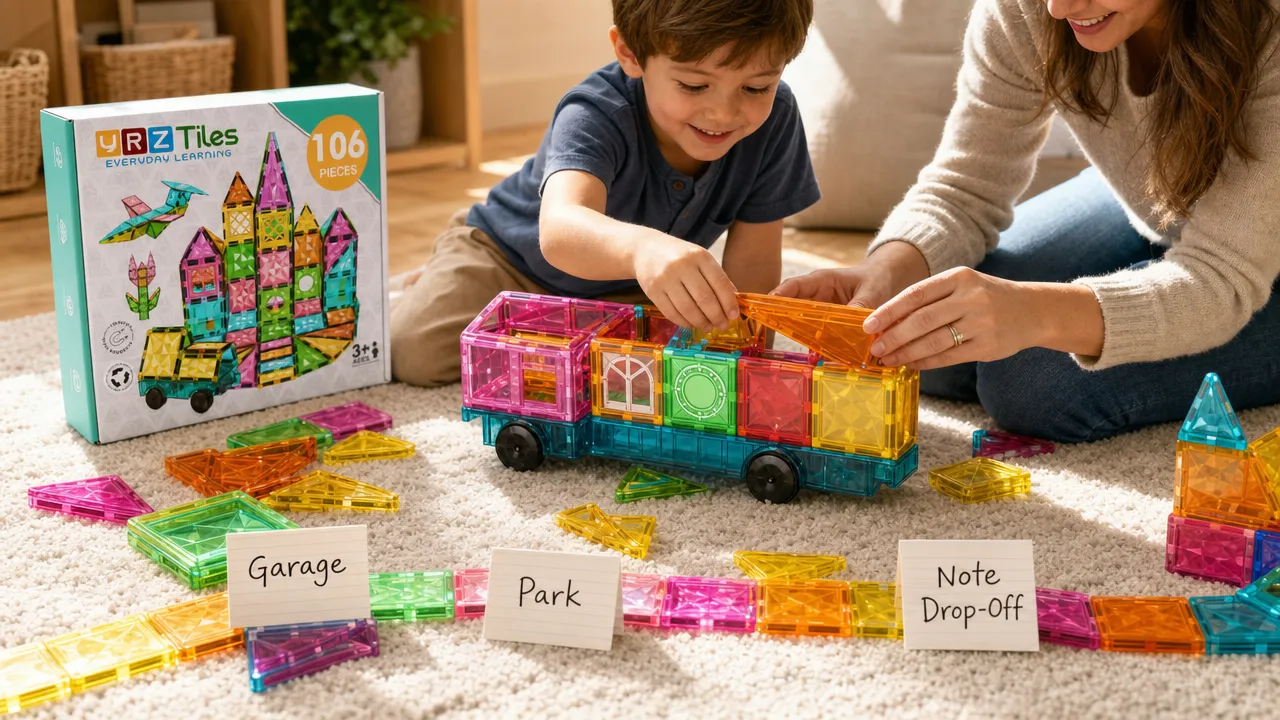
Start with a small play zone
Before building, choose a manageable spot: a corner of the rug, a clear coffee table, or a low table where the route can stay short. A little space is enough. The goal is not to create a whole city that remains in place until next Tuesday. It is to make a satisfying mini mission that can wrap up when dinner begins calling from the kitchen.
Set the single wheeled chassis in the middle of the space. Then choose a modest selection of squares, rectangles, triangles, and one or two window or frame pieces. There is no need to tip out every tile. Leaving some pieces in the storage container can make the build feel less like a colorful avalanche.
Optional household materials can make the route easier to see:
| Optional item | Simple use | Important reminder |
|---|---|---|
| Small paper squares | Route-stop labels | Not included with the set |
| Crayons or pencils | Names, arrows, and detours | Not included with the set |
| A book or tray | A pretend building location | Not included with the set |
| A tiny paper note | A delivery item for the story | Not included with the set |
Try two or three paper markers only. "Garage," "Park," and "Home" are plenty for a short session. Place them directly on the floor or tabletop. Do not tape anything to the tiles.
Paper signs are prompts, not rules. A "Park" card may become a library, garden, snack shop, or a place where the vehicle has to turn around because somebody has placed a sock in the road. Open-ended materials work best when children can decide what they mean, rather than being handed a script with no room for detours.
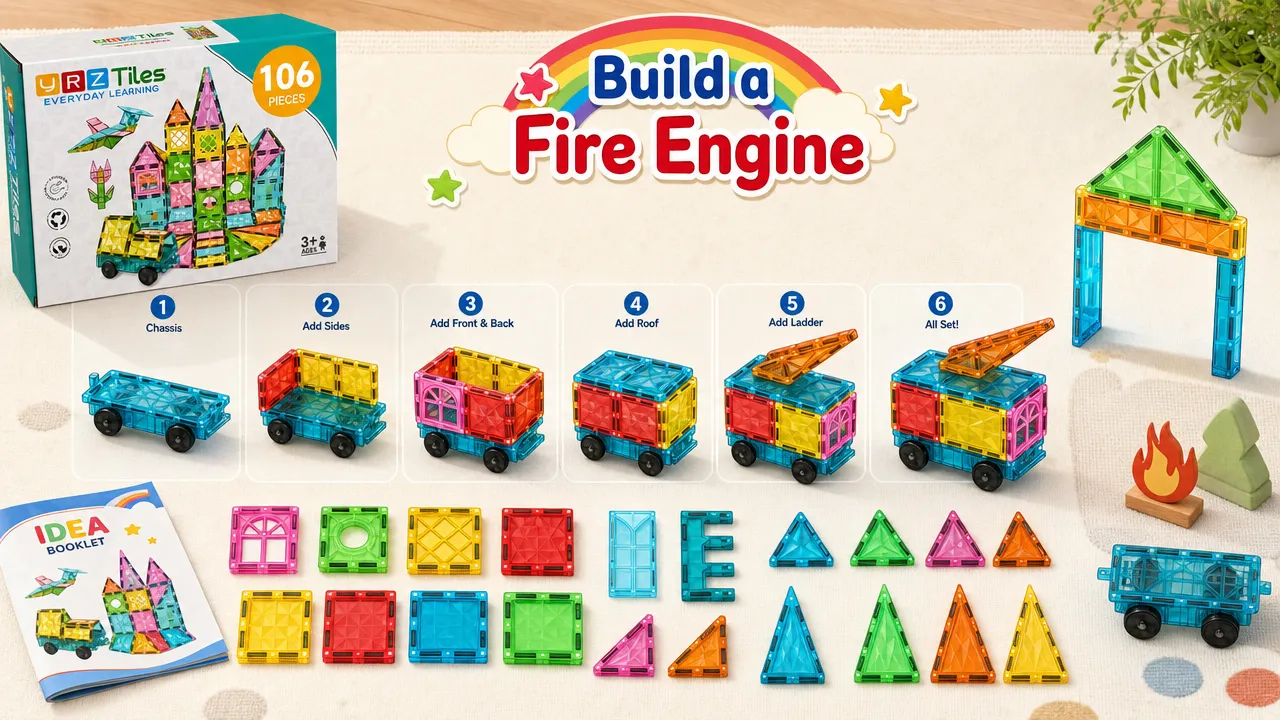
Build one fire-engine-inspired vehicle
A fire-engine-inspired vehicle does not need to look like a miniature replica. In fact, a simple low shape is often more enjoyable to revise. Let the child choose the colors. A bright blue cab, a yellow side panel, and a green roof still count if that is what the builder likes. Imaginative play is not grading anyone on paint colors.
Begin with the visual parts that make the vehicle easy to recognize:
- Make a low body. Add one or two square or rectangular panels around the chassis area for a simple body shape.
- Choose the cab. Place a square or window piece near one end to suggest where the driver sits.
- Add a rear section. Use another square, rectangle, or open frame behind the cab. This can be a small equipment compartment in the story, without needing to hold anything.
- Keep the roof modest. A triangle or two can create a low roofline. If the shape starts looking like a castle turret, that is not wrong, but it may be a hint that the vehicle has other career plans.
- Save a frame piece for the garage. An open square or door-frame piece can make a nice garage entrance beside the route instead of becoming part of the vehicle.
Squares make easy side panels, rectangles can suggest a longer rear section, and window tiles can provide a cab detail. Triangles are useful for a sloped front or a small roof cue. The set has a variety of architecture-style pieces, but you do not need to use them all for the vehicle to feel complete.
If pieces begin to feel scarce, simplify on purpose. A cab plus one body panel is enough. One window is enough. The route story can do much of the work. A child may decide the vehicle is carrying a note, checking a bridge sign, or heading back to the garage for a quiet check-in. None of those missions require a towering roof.
Before starting the route, give the upper build a gentle check on the actual play surface. Move the vehicle carefully by the chassis rather than pulling on the roof or window pieces. If the top shifts or comes apart, that is useful information, not a failed build.
Try one of these easy revisions:
- Lower the roofline by removing a triangle.
- Keep the cab and rebuild only the rear section.
- Use a wider connection before adding another layer.
- Remove one decorative panel and see whether the shape is easier to manage.
- Make the vehicle flat-sided and let the route markers provide the story.
The best version is the one that leaves enough room for play, adjustments, and the inevitable mid-route redesign.
Plan three calm route stops
The route does not need printed road pieces or a floor full of traffic signs. A simple loop, an L-shape, or an out-and-back path works well. The wheeled chassis is the one moving part of the activity; the paper markers simply tell the story.
For a compact route, arrange the markers like this:
Garage -> Bridge Check -> Park -> Garage
The "Bridge Check" can be a folded piece of paper, a book edge, or just a label on the rug. It is a pretend destination, not a real structure to test. The vehicle might pause there to read a note, choose a new color for the route, or decide that the path is closed for the day.
The mission stays light because the prompts are everyday and imaginative. You can offer one question, then give the child room to answer it:
- "Should the vehicle visit the park or the library first?"
- "What does the note at this stop say?"
- "The paper sign says Road Closed. Where should it go instead?"
- "Which tile color belongs at the garden stop?"
- "Does the garage need a door, a window, or both?"
- "Would you like to add one new stop before going home?"
Adults do not need to narrate every moment. A single prompt such as "What happens next?" can extend the story without taking it over. If the child changes the park into a bakery or sends the vehicle back to the garage early, the route is doing its job: it is supporting the story, not controlling it.
For siblings, give the single chassis a job in the turn-taking plan:
| Sharing setup | First child | Second child | Swap point |
|---|---|---|---|
| Builder and planner | Builds the cab and body | Places route cards | After the first route |
| Driver and narrator | Moves the chassis gently | Tells the story at each stop | At the garage |
| One-piece handoff | Adds one tile | Adds the next tile | Continue until the vehicle is ready |
| Rebuild choice | Chooses the next vehicle | Chooses the next route | After cleanup |
The chassis becomes a reason to cooperate rather than compete. There is only one rolling vehicle in play, which makes "your turn, then mine" easier to see.
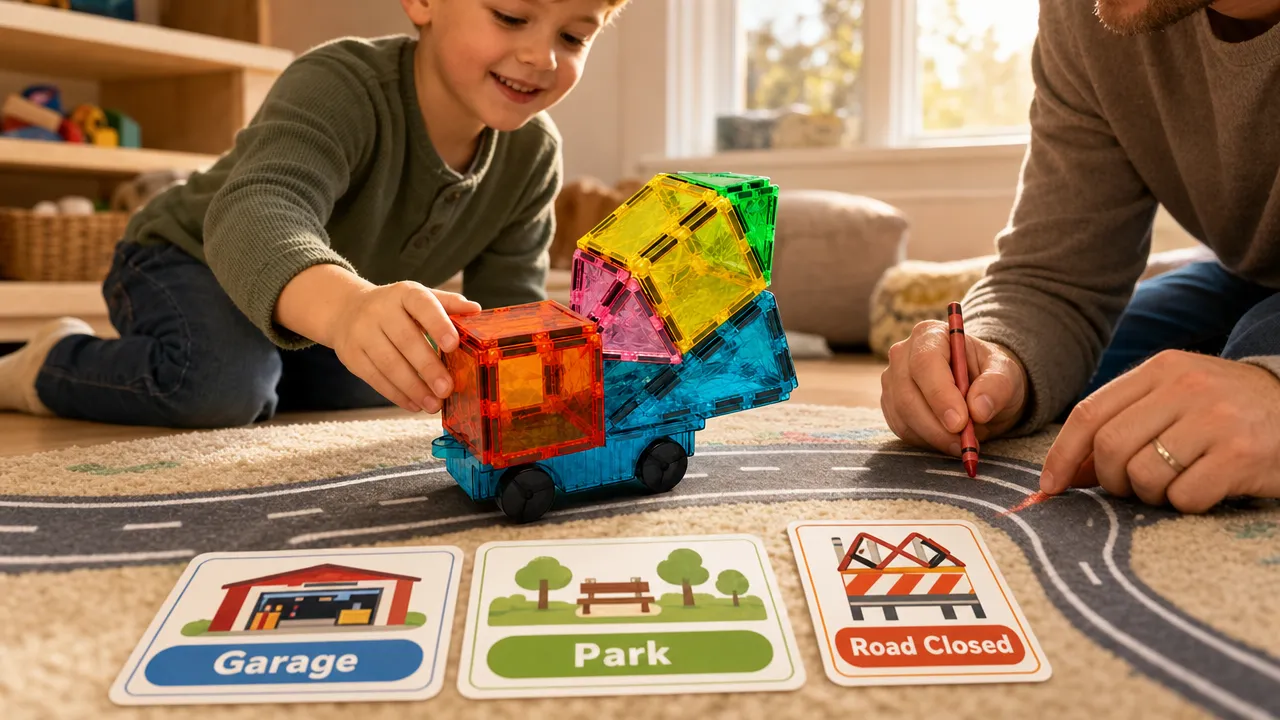
Run the mission at your family's pace
Start the first round with the route cards in an obvious order. Leave the garage, pause at the bridge-check marker, visit the park, and return. The adult can point to the next card if needed, but there is no need to correct every detour. A loop around the pillow may be inefficient transportation planning, yet excellent pretend play.
At each stop, give the vehicle one quiet job. At the bridge check, collect an optional paper note. At the park, choose which color tile should mark the garden entrance. At home, wave to a toy figure. Notes, figures, and other household props are optional and are not included with the set.
On a short weekday afternoon, use two markers: "Park" and "Garage." Build a low cab, make one trip, and park. On a weekend, add a third destination and let the child rearrange the cards for a second round. Changing the order creates a new mission without requiring more tiles or more floor space.
If a route stop becomes too dramatic for a child, rename it. "Bridge Check" can become "Blue Sign." "Station" can become "Garage." The goal is a comfortable story, not suspense. A child who would rather run a snack delivery or a neighborhood parade can keep the same vehicle and choose a gentler mission.
When pieces run low, protect the parts that matter most: the single chassis, a low body, one cab cue, and a garage marker. The route can be completely imaginary. When attention runs low, finish the stop already in progress and return to the garage. A clear ending is more useful than squeezing in one last complicated destination.
One chassis means one vehicle at a time. After the mission, take the upper build apart before using the base for a different idea on another day. That boundary also makes mid-play redesigns easier: keep the chassis, remove the section that is wobbling, and give the simpler version another trip around the route.
Finish with a garage reset
When play needs to end, make "Garage" the final stop. That small story cue can soften the switch from building to cleanup. Park the vehicle, admire the shape for a moment, and take a photo if the family wants to remember the design.
Then remove the upper tiles from the chassis before storage. Gather the paper route cards separately, saving or recycling them as you prefer. A simple sort can make the next session easier: window pieces together, frames together, remaining tiles together, chassis last.
A quick adult piece check belongs in the reset, too. It takes only a moment, and it keeps the next build ready for play.
Ages 3+. An adult should inspect pieces before play. Stop using cracked, separated, or damaged pieces, or any piece with an exposed or missing magnet. Keep magnet-containing pieces away from younger children. Seek immediate medical attention if magnet ingestion is suspected. For more information, see the U.S. Consumer Product Safety Commission's magnet safety guidance.
A small route, one chassis, and a slightly crooked roof can be enough for a satisfying afternoon. The town does not need to stay built forever. Tomorrow, the same chassis can return with a new roof or a rearranged route. Today, it gets to make one last stop at the garage.