

How to Turn One Magnetic Tile Chassis into a Mobile Shop
Begin with one wheeled chassis and build only one rolling shop at a time. The YRZtiles 106pcs STEM Magnetic Tiles and Building Blocks set includes one chassis. If the family turns it into a different vehicle later, dismantle the shop first.
A low shop body with one open customer side is more useful than a tall, fully enclosed vehicle. The service window gives the build a clear purpose: one child can operate the shop while another places an order, plans a stop, or handles the reset.
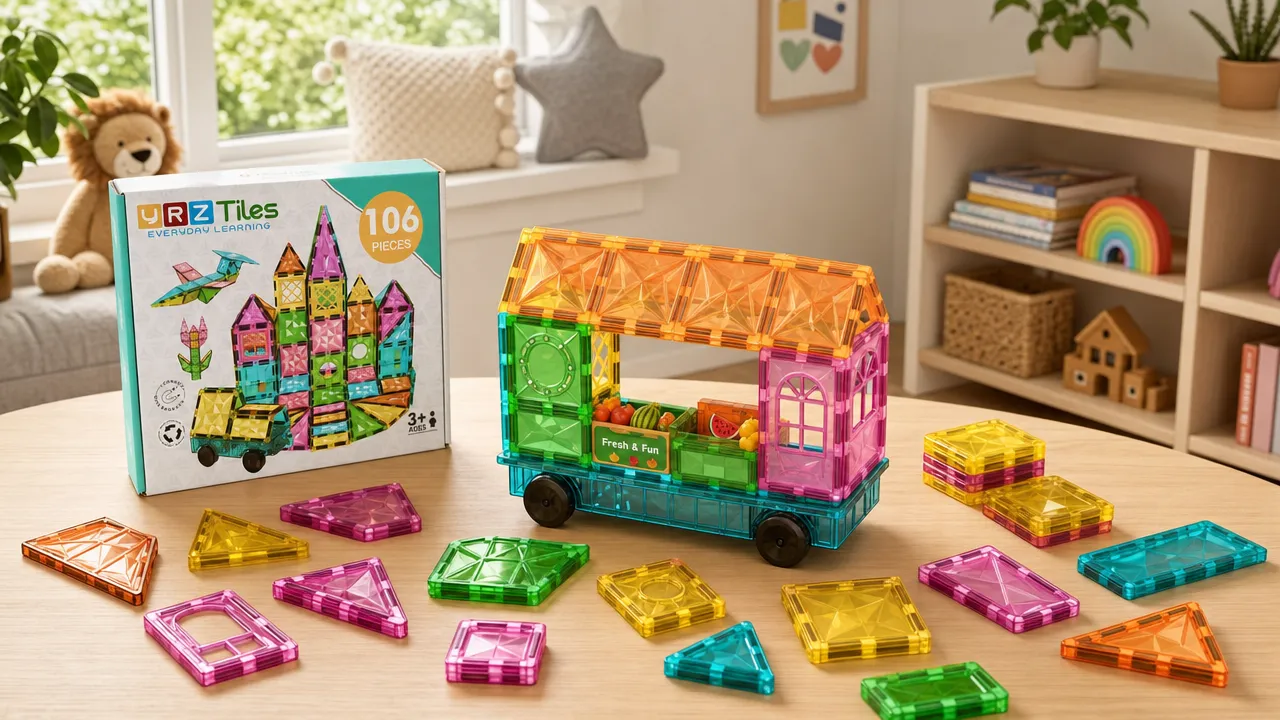
Set up one compact shop zone
Choose a clear floor section, low table, or play mat with room for one short route. Keep the route contained between two landmarks, such as a rug edge and a pillow. This prevents the mobile shop from turning into a cross-country delivery service five minutes before dinner.
Gather a small working group of tiles first. Use the wheeled chassis, several standard squares or rectangles, one open frame or window-style piece, and a few optional triangles. The Classic 106-piece set also includes door and window details that can become a side entrance, counter marker, or shop sign.
Do not use every piece at the beginning. Put extra tiles in a small reserve pile. These pieces can become a display stand, parking sign, curb, or a fresh idea after the main shop body is complete.
Treat the base as a rolling shop rather than a standard car. The chassis remains the only moving base in the activity.
Choose the Customer Side
Select one long side of the chassis as the customer side. Place the shop where the opening will face the child acting as customer.
Use one of these service-window options:
- Leave one side of the body open.
- Place an open square or door-frame piece at the counter area.
- Use a round, arched, or lattice-style window piece as a visual shop window.
- Build a low wall with a visible gap above it.
The opening does not need to look perfect. It needs to remain accessible for pretend orders, small paper signs, or a toy figure.
Keep Optional Props Separate
Paper menus, play money, pretend food, product cards, toy figures, trays, books, and parcel labels are optional household materials. They are not included with the set.
Add these items only after the tile structure is finished. A paper menu placed too early often becomes the roof, then the roof becomes a sandwich, and the original plan is gone.
Build the mobile shop in seven steps
1. Place the chassis in the shop zone
Set the single wheeled chassis on the selected play surface. Leave enough open space in front of it for a gentle push and a short stop.
Do not begin with a long route. Test the build close to where the tiles are stored so adjustments remain simple.
2. Make a low body
Add a small body directly above the chassis using squares or rectangles. Build one layer before adding height.
Use the body to suggest a shop counter, a display wall, or a compact delivery compartment. The shape can be uneven. A crooked wall is still a wall if the shopkeeper says it is.
3. Leave one side open for service
Keep the customer side open. If the build has walls on both sides, remove one piece or replace it with an open frame.
Ask one practical question: "Where will the customer stand?" Turn the opening toward that side. This prevents the service window from facing the sofa while every customer is waiting on the other side.
4. Add a sign, awning, or light roof
Add one small top detail after the service window is working. A rectangle can become a sign. A triangle can suggest a roofline. A window piece can become a display panel.
Stop if the top begins to block the opening or makes the build harder to revise. A complete roof is optional. The service window is the main feature.
5. Test-roll the shop gently
Push the chassis lightly through the short route. Watch for shifting pieces, a blocked service side, or a top section that asks for more attention than the pretend shop.
This is a play test, not a performance test. If the body changes shape, treat that as information for the next version.
6. Revise the structure before decorating
Remove a top piece if the build feels too tall. Turn the upper section if the window faces the wrong direction. Replace extra details with a simple sign if the shop body is getting crowded.
Use this short revision order:
- Keep the chassis.
- Keep the service opening.
- Keep a low body.
- Add only the details that still fit.
7. Add the shop story
Choose one shop theme. Add optional household props only when they are appropriate for the child and play area. These materials are not included with the set.
| Shop Theme | Service-Window Prompt | Optional Materials, Not Included With the Set |
|---|---|---|
| Snack cart | "What would you like today?" | Paper menu, play food, paper tokens |
| Book cart | "Which book goes to the next stop?" | Small book, paper title cards |
| Flower stand | "One flower or a bunch?" | Paper flowers or drawings |
| Repair shop | "What needs fixing?" | Paper repair tickets, toy vehicle |
| Neighborhood market | "Can you pack this order?" | Paper product cards, paper list |
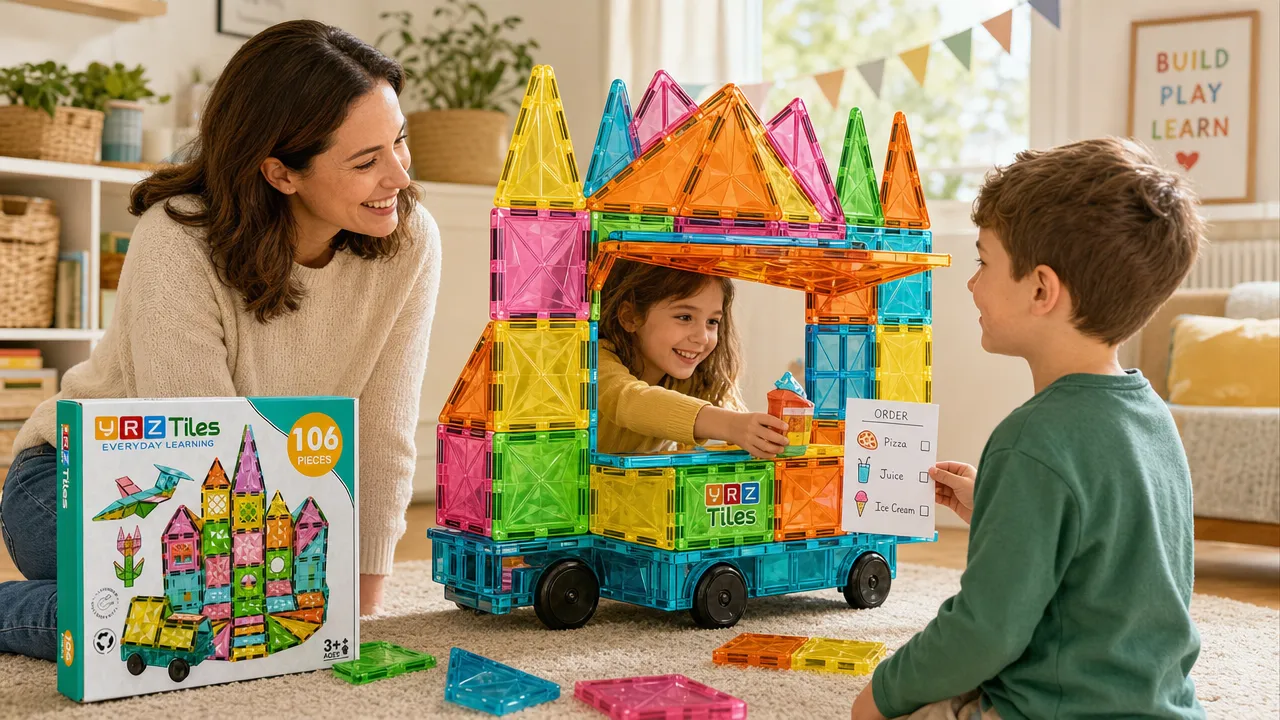
Test and revise the rolling shop
Test the mobile shop after the body and service window are in place. A short test roll answers practical questions without requiring a complicated build plan.
| Problem | Likely Cause | Action |
|---|---|---|
| Roof shifts during play | Too many pieces are stacked at the top | Remove the roof and use one flat sign piece instead |
| Window faces away from customers | The upper body was built from the wrong side | Turn or rebuild only the top section |
| Pieces run low | Too many tiles were used for decoration | Reset to chassis, body, window, and sign |
| Route spreads across the room | Stops were not defined | Use two landmarks and one short loop |
| Siblings both want the chassis | The role plan is unclear | Assign roles and switch after one order or stop |
The route can stay compact. Place one paper landmark at each end, such as "Library" and "Market." Paper landmarks are optional household materials and are not included with the set.
Do not use tape on floors or furniture unless the surface and household rules allow it. A rug edge, tray, placemat, or clear space between cushions can define the route without adding materials.
If the child changes the shop into a flower stall, pet store, or soup counter midway through, keep the same structural priorities: one chassis, a low body, and an accessible opening.
Open the service window and share the jobs
Use rotating jobs when siblings or friends share the set. The one-chassis limit becomes easier to manage when each child has a clear part in the activity.
| Role | Task |
|---|---|
| Builder | Chooses the body, opening, and sign pieces |
| Shopkeeper | Takes pretend orders at the service window |
| Customer | Requests an item or service |
| Route planner | Chooses the next one or two stops |
| Reset helper | Removes optional props and sorts tiles afterward |
Change roles after one pretend order, one route stop, or a short timer selected by the adult. A single child can also rotate through the roles.
Use a simple mission to start play:
- Deliver one book to the pillow library.
- Bring flowers to the chair garden.
- Complete three paper-label orders in sequence.
- Take one repair request and return to the shop zone.
- Pack one market order before moving to the next stop.
For a three-stop shop route, write "first," "next," and "last" on optional paper cards. At the first stop, the shopkeeper opens the window. At the next stop, a customer places one pretend order. At the last stop, the shop returns to its parking place. The cards are not included with the set.
Keep one order round easy to follow
A short routine prevents the service window from becoming a crowd of hands, paper menus, and mysteriously unpaid pretend bills. Try the same five-part rhythm for each customer:
- The customer approaches the open side.
- The shopkeeper listens to one order.
- The shopkeeper passes over one optional pretend item or paper card.
- The customer uses a paper token, says thank you, or simply waves.
- Both players reset the counter before changing roles.
Everything passed through the window should be light, age-appropriate, and easy to manage. Paper menus, paper tokens, play food, figures, and other props are optional household materials and are not included with the set. The tile model is a setting for the story, not a cart for carrying heavy objects or liquids.
If two children both want to be shopkeeper, agree on the swap point before opening. One completed order is usually easier to understand than an adult calling time in the middle of a transaction. A child who does not want a customer role can be the route planner or parking helper instead.
Reset the shop for a new theme
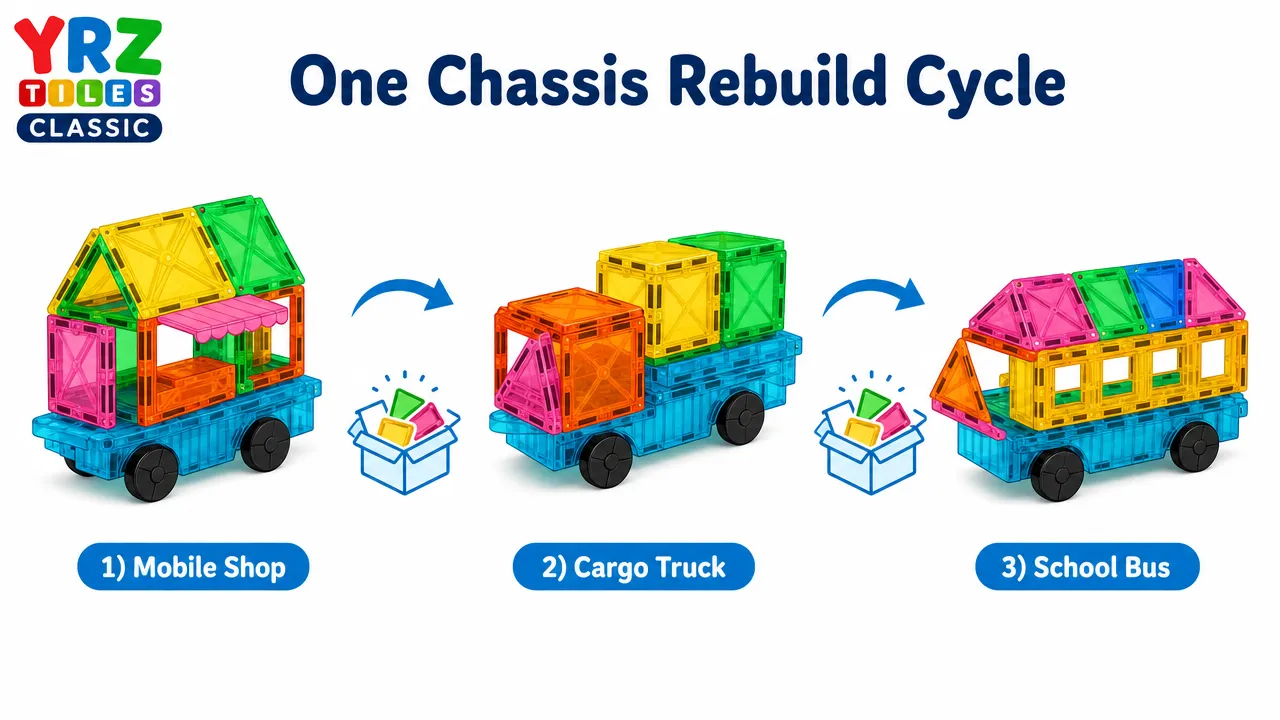
Take the mobile shop apart before starting another vehicle. The 106-piece Classic set has one wheeled chassis, so only one rolling build can be assembled at a time.
Before taking the whole build apart, decide whether the next round needs a new structure or only a new shop theme. A book cart, flower stand, and snack counter can all use the same low body and open service side. Change the paper sign and optional props, clear the counter, and begin again. This saves time and avoids rebuilding a structure that already works.
For a quick after-school session, choose one theme and serve two pretend customers. For a longer weekend game, make two route stops and change shopkeepers after each stop. If dinner is approaching, announce a final order, park the shop, and begin the reset. Even imaginary businesses benefit from clear closing hours.
If the opening becomes blocked after a theme change, remove props first. Then take off one upper tile or turn the window section. Keep the chassis, low body, and customer opening as the priorities. A new sign should not force a complete rebuild unless the child wants one.
If a child decides the flower stand is now a book cart, follow the new story. Put away the optional flowers, bring out one small book or paper title card, and reopen. The easy theme change is part of what makes a mobile shop useful for family play.
Use this two-minute reset sequence:
- Remove optional household props first.
- Separate the wheeled chassis and place it in a visible spot.
- Gather large squares, rectangles, and triangles.
- Collect door, open-frame, and window pieces together.
- Check each piece before the next play session.
- Store the tiles according to the household's usual storage routine.
End with a quick safety check
This set is for Ages 3+. An adult should inspect magnetic pieces before play. Stop using any cracked, separated, or damaged piece, and any piece with an exposed or missing magnet. Keep magnet-containing pieces away from younger children. If magnet ingestion is suspected, seek immediate medical attention.
For general magnet safety guidance, consult the U.S. Consumer Product Safety Commission magnet safety information.
One chassis, one open service window, and one short route are enough to create a shop that feels busy without making the room busy too. Keep the body low, let children change the theme, and close after a clear final order. The next time the chassis rolls out, the world's smallest book cart may have become a flower stand, which is excellent news for both imaginary readers and imaginary gardeners.