

How to Make an Excavator Model with YRZtiles 106-Piece Magnetic Tiles
An excavator is easy to recognize from the side: a cab, a long diagonal arm, and a scoop-like shape at the front. Recreating that outline with magnetic tiles can be much simpler than trying to copy every detail of a real machine. It also produces fewer tense negotiations with a roof that refuses to cooperate.
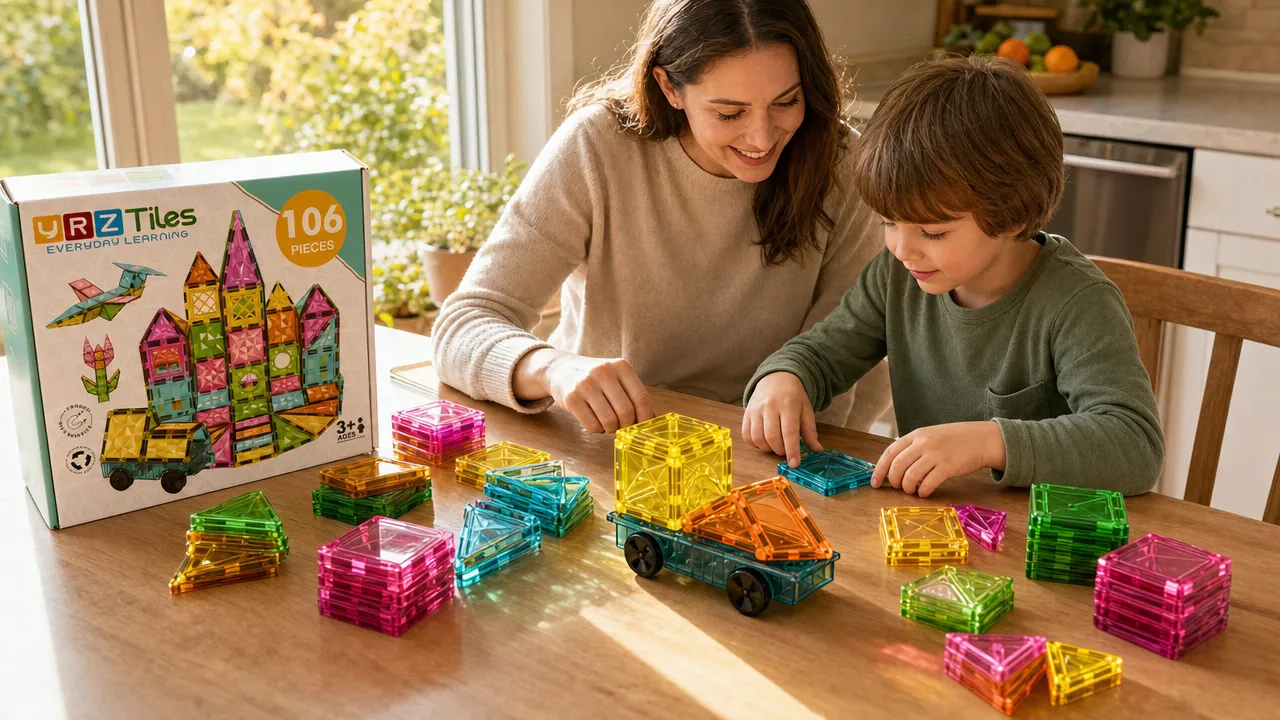
For this build, take the single wheeled chassis from the YRZtiles 106pcs STEM Magnetic Tiles and Building Blocks set. The result is an excavator-inspired visual model. Its angled front is decorative: it does not dig, lift, pivot, scoop, or carry material. The family challenge is to make a recognizable silhouette, view it from the side, and revise it when the shape becomes too busy.
That makes the project practical for a table corner or a small patch of floor. You do not need dirt, sand, pebbles, or a working construction site. You need one chassis, a modest selection of tiles, and a child willing to explain why the cab absolutely must be purple.
Look for three shapes before you build
Rather than putting every tile into the work area, sort a small group that can suggest three visual parts:
- A low vehicle body close to the chassis.
- A cab shape near one end.
- An angled front outline made with triangles or rectangles.
Gather the single wheeled chassis, several squares or rectangles, a few right or long triangles, and one window-style piece if the builder wants the cab to stand out. Keep extra pieces in a tray or container nearby. Fewer visible options make it easier to compare shapes instead of searching through the entire set after each idea.
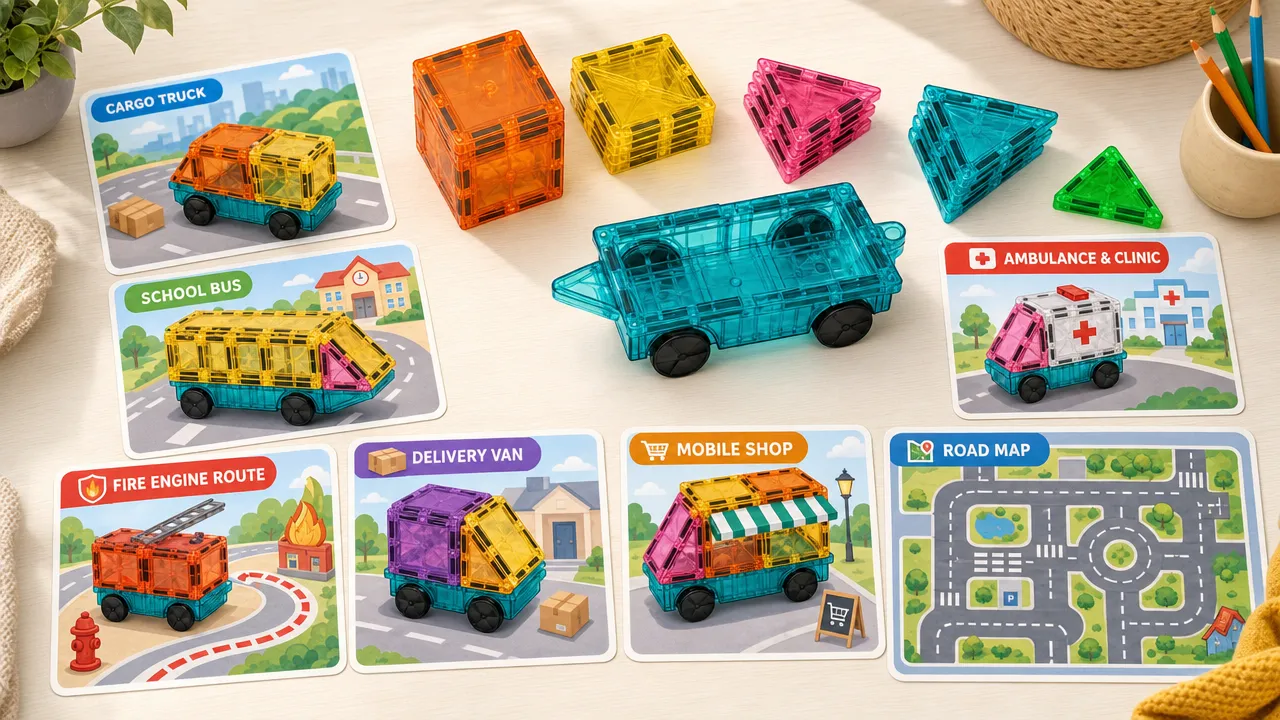
Optional paper site signs, pencils, toy figures, books, trays, or small paper cones can support the story, but they are household materials and are not included with the set. Place them beside the model. Do not load objects into the build or place loose material under its front detail.
Choose a side-view work area
A table is useful because children can lower their eyes to see the silhouette. A firm floor area works too, especially if the family wants to move the model gently between pretend locations after it is built. Clear a short lane and keep unused tiles out of it.
The important view is from the side. If the cab and diagonal front are easy to recognize, the model is doing its job.
Build a low body first
Place the chassis in the middle of the work area and choose which end will hold the cab. There is no mechanical front or back created by this decision; you are planning the visual direction of the model.
1. Add a compact lower outline
Use a few squares or rectangles close to the chassis, following how the tiles naturally connect. Keep the first layer low. The angled detail will add plenty of visual interest later, so the base does not need extra towers or a large roof.
Pause and look from the side. Ask the child to trace the body shape in the air with one finger. If the lower outline feels clear, stop adding to it.
2. Mark the cab
Choose a square, rectangle, or window-style piece near one end of the body. This becomes the cab suggestion. It does not create a functional cabin, seat, control panel, or driver area. It simply gives the eye a place to recognize the operator's section of an excavator-like silhouette.
A round-window, arched-window, or lattice-style tile can make the cab visually distinct if one is available. A regular square works just as well. The child may also use color to separate the cab from the body.
Keep the cab modest in height. If a second layer makes it lean or hides the diagonal front, remove that layer. The model does not become more convincing merely because the cab has acquired a penthouse.
3. Check the body before building forward
Gently touch the body from the side and see whether the selected pieces feel settled. If a tile shifts, reposition it or choose a simpler arrangement. This is not a strength test. Do not press down, add weight, or try to determine how much the structure can support.
Ask one useful question: "Can we still see where the front detail will begin?" If the cab has taken over the available space, shorten it now.
Create a fixed, angled front silhouette
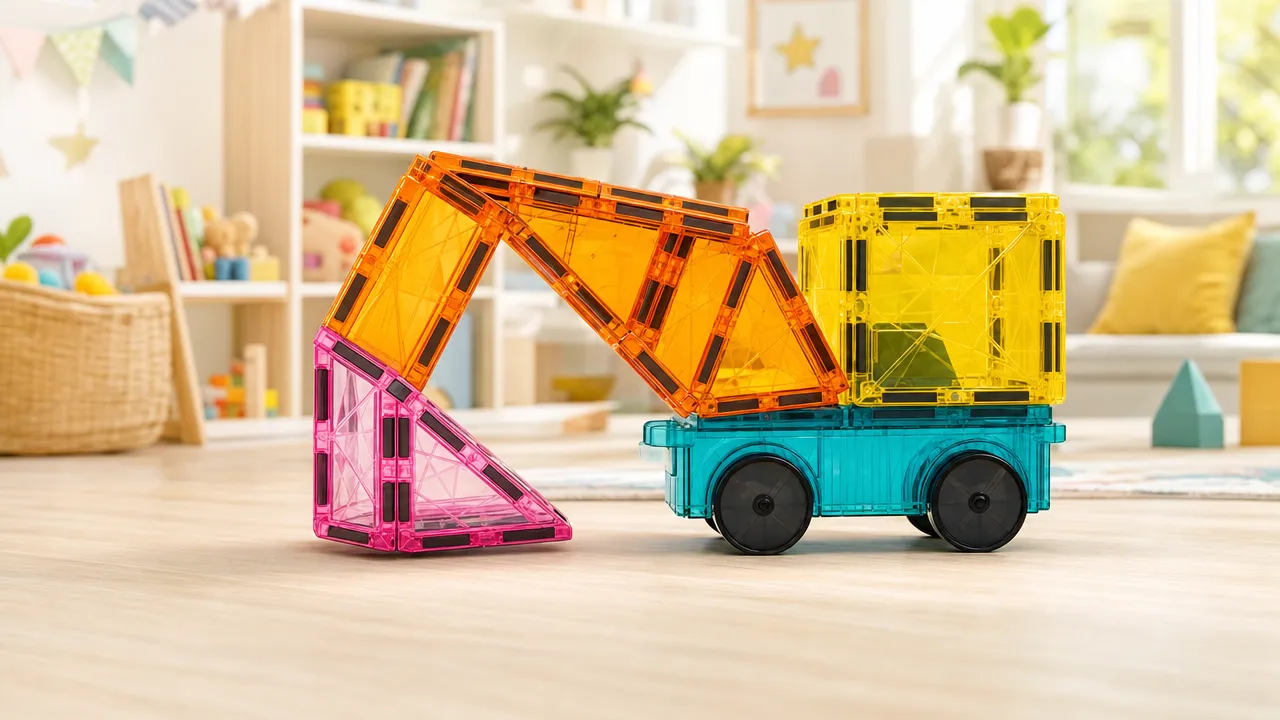
The diagonal line is what helps this model read as excavator-inspired. Build it as a decorative outline, not as a moving arm.
1. Arrange two ideas flat on the surface
Before attaching anything, lay a few triangles or rectangles beside the chassis. Make one long, simple diagonal and one shorter, bent-looking arrangement. Let the child compare them from the side.
This quick preview saves frustration. It is easier to swap a loose triangle on the table than to dismantle half the cab because the first idea grew too tall.
2. Connect a short diagonal near the body
Choose the simpler arrangement and add it near the front of the body, using the pieces only where they connect comfortably. One or two angled pieces may communicate the idea better than a chain of many tiles.
Keep the angle fairly close to the model. Do not create a long overhanging structure that the child will be tempted to use as a handle. Move the vehicle by guiding the chassis or low body, not by pulling the decorative front.
3. Suggest a scoop at the tip
Use a triangle or a small grouping of shapes to make a scoop-like tip. The word "scoop" describes the silhouette only. The piece is not a working bucket and should not be pushed into rice, sand, soil, blocks, food, or piles of small objects.
If the tip keeps slipping, remove it and let the diagonal end cleanly. A visible cab plus one strong angled line is enough to suggest the machine. Recognition matters more than the number of parts.
4. Decide whether any roof detail is still needed
Look at the full side view before adding a roof. If the cab already stands out, leave it alone. If the child wants one finishing piece, try a low triangle or rectangle and check the silhouette again.
The best stopping point often arrives one tile before an adult expects it. When the child can point to the body, cab, arm-like line, and front tip, the model is complete.
Use a side-view check instead of a performance test
Set the model on the table or floor and take one step back. Do not test whether the front can lift, drag, or collect anything. Instead, ask visual questions:
- Can you spot the cab first?
- Does the diagonal front stand apart from the body?
- Is the scoop-like tip simple enough to see?
- Does one decorative piece distract from the main outline?
- Can the model sit in the play area without leaning?
If the answer to the last question is no, keep the chassis and lower body in place and change one upper piece at a time.
| What you notice | A focused revision |
|---|---|
| The cab is taller than everything else | Remove its uppermost piece. |
| The diagonal disappears into the body | Choose a triangle with a clearer angle or remove a side decoration. |
| The front extends too far | Shorten it to one or two pieces. |
| The scoop-like tip shifts | Leave a clean diagonal end or use a simpler tip. |
| The model feels visually crowded | Preserve the body, cab, and one angled line; return the rest. |
| Siblings disagree | Build each front idea briefly, view both from the side, and choose together. |
An adult can keep the tone neutral: "That piece moved when we set it down," is more useful than, "You built it wrong." The first statement gives the child information. The second usually recruits a small but passionate defense attorney.
Once the shape looks clear, you may move the model gently along a short, empty path as part of the story. This is not a mobility or durability test. Avoid ramps, stairs, rough pushing, and obstacles that catch the decorative front.
Build a construction story around the model
Because the front does not perform a real digging action, let the story do the work. The model can arrive at a pretend site, inspect a plan, park beside a future building, and report that the crew needs a snack break.
Mark a site without loose fill
Use flat tiles to outline a building area. Two rectangles can mark an entrance, and four squares can suggest the corners of a future structure. Optional paper cards can label "Site," "Office," and "Parking," but those cards are not included with the set.
Keep the center clear. There is no need for dirt, dried beans, cereal, water, modeling compound, or other material for the model to move. A clean tile outline is easier to reset and does not invite children to test the decorative tip as a tool.
Give the crew three calm jobs
Try a short sequence:
- Move the excavator-inspired model from the parking area to the site.
- Look at the flat plan and choose where a wall might go.
- Park the vehicle while the child uses spare tiles to build that wall by hand.
The vehicle can supervise, deliver an imaginary message, or block off the pretend work zone. It does not have to manipulate the building pieces.
Use roles when siblings share
One child can be the vehicle designer, one the site planner, and one the safety checker who keeps loose tiles out of the short path. After the first site visit, switch roles. The side-view checker can propose one visual revision while the builder decides whether to accept it.
For two children, let one move the model to the site and the other build one wall. On the return trip, swap. The same vehicle remains intact, and each child controls a meaningful part of the story.
Take it apart without losing the chassis
Finish by parking the model beside the tile site. Remove optional paper signs and household props first. If the child wants to remember the silhouette, take a photo before disassembly; a phone or camera is an optional household item and is not included with the set.
Remove the front-tip pieces and triangles over the work area, then take apart the cab and body. Put the single chassis in its regular storage place before gathering the site markers. Sorting triangles separately from squares and rectangles can make the next shape-based build easier to begin.
Use cleanup as a quick inspection rather than a lecture. An adult can look at each piece while it goes into the container and check the floor, table edge, and nearby furniture for strays.
Ages 3+. An adult should inspect pieces before play. Stop using any cracked, separated, or damaged piece, or any piece with an exposed or missing magnet. Keep magnet-containing pieces away from younger children. If magnet ingestion is suspected, seek immediate medical attention. The U.S. Consumer Product Safety Commission's magnet safety guidance offers additional family safety information.
The finished model does not need to dig to feel like an excavator. A low body, a cab, and one clean diagonal can carry the idea. When the family can recognize the silhouette, revise it together, and turn it into a construction story without asking it to perform like real machinery, the build has found exactly the right job.