

How to Build a Garden with the MagFlake 58-Piece Magnetic Tile Set
Back to Journal News

Start with a tiny garden and a little room to change your mind
A tiny garden can appear on the kitchen table without giving up the whole table or asking the houseplants to make room. With the grass, flower, shrub or tree-like, square, and triangular pieces from the MagFlake 2 in 1 Magnetic Tiles 58-Piece Set, children can arrange a little open scene, change their minds, and move the flower again - because apparently it has strong opinions about where it lives.
This build works well in a small family space: choose one corner of a table or a clear patch of floor, keep the layout low and open, and add only a few pieces at a time. If siblings are building together, one can shape the garden edge while the other positions the themed pieces where the compatible connections allow, then they can swap. Nothing needs to look perfectly tidy or realistic. The goal is a garden that invites a short story, survives a few cheerful redesigns, and can be gathered up without turning cleanup into the evening's longest activity.
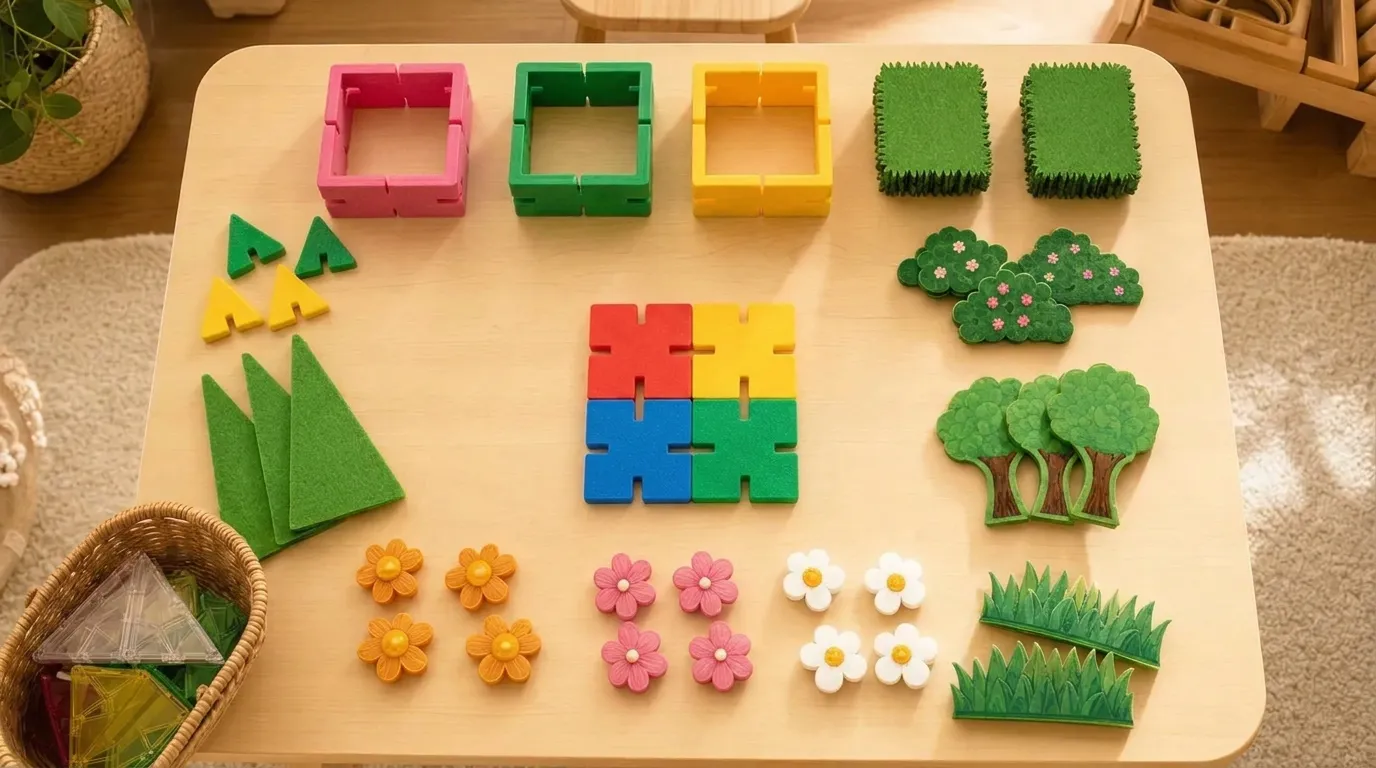
Pull out only the garden pieces you need
Do not place every piece in the middle at once. It is easier to begin with a small working group and leave the rest nearby for later changes.
Start with:
| Piece category | How to use it in the garden |
|---|---|
| Square pieces | Make a low, open base or a simple backdrop |
| Shorter and longer triangles | Create one low angled feature, canopy, or raised corner |
| Grass or turf pieces | Mark the garden ground |
| Flower pieces | Create a flower area or a special corner |
| Shrub or tree-like pieces | Make a shaded area or garden landmark |
The official inventory also includes optional story pieces, including a sun, clouds, bird, lion, crescent moon, and star. Keep those aside at first. Bringing in one story piece later can make the finished scene feel fresh without crowding the build.
A quick note for families using this set with younger builders: it is designated Ages 3+. Follow the current product label and instructions.
Build a MagFlake 58 piece magnetic tile garden build from the ground up
Begin low. The goal is not to build a tall greenhouse, a giant tower, or a structure that needs an engineering crew before snack time. A low garden gives everyone more room to arrange the themed pieces and makes changes easier.
Place several square pieces as an open base. You might connect a few edge to edge or use the slot-based connections where they sit comfortably. There is no need to cover the whole surface. Leave open spaces between sections so the garden looks like a place to explore rather than a packed wall of pieces.
Next, add the grass or turf pieces. Position them as garden ground, a little resting area, or the beginning of a route through the scene. The route does not need to be straight. You can suggest changing directions by arranging separate rigid pieces at different angles. The pieces themselves do not bend, even if the child confidently insists they are "making a wiggly path."
Add the flower pieces near one another for a classic flower patch, or separate them into two garden zones. Then position the shrub or tree-like pieces as landmarks. One might become the garden's quiet corner; the other might mark the place where the bird visits.
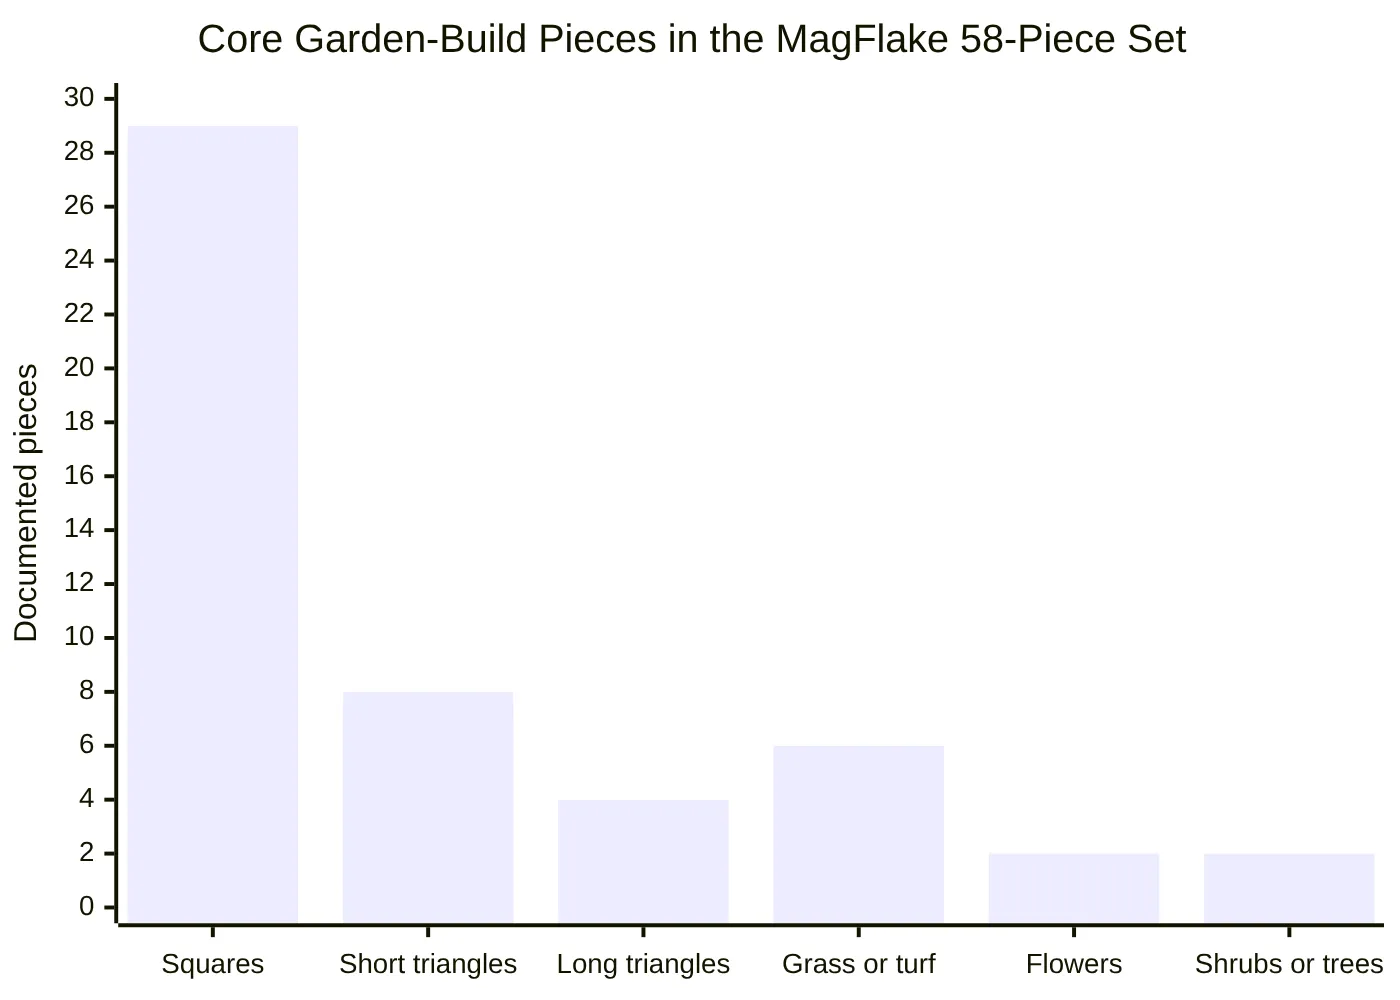
This simple distribution shows how much of the documented set can support the core garden scene before any optional story pieces are added.
Make a compact version for a small table
For a short after-school session, pull out just four to six square pieces, two or three grass pieces, one flower piece, one shrub or tree-like piece, and two or three triangles. This smaller version has a built-in advantage: it is easy to pause, move, and clean up.
Try this simple sequence:
- Make one small square base.
- Add a grass area and a flower corner.
- Position one shrub or tree-like piece.
- Add one triangle feature only if the build still feels roomy.
- Choose one optional story piece after the garden is ready.
A garden does not need every available piece to feel finished. Sometimes the smallest version is the one that leaves the most room for a story.
Add height to the MagFlake magnetic tile bird nest high low structures idea
Triangles are useful when the flat garden needs one interesting change in height. Rather than building upward immediately, make a low angled feature first. A pair of triangles can suggest a canopy, a lookout, or a raised corner beside the grass.
For families searching for a MagFlake magnetic tile bird nest high low structures activity, it helps to keep the idea simple: make a low grass spot and a higher triangle-supported perch. Do not add a nest or other extra accessories. The bird can simply visit the low garden area and then look toward the higher part of the build.
Use separate triangles at different connection angles to change direction. If a section is stable at a low angle, leave it there for a moment before adding anything else. If you add height too fast, the garden may start leaning like it is trying to take a nap.
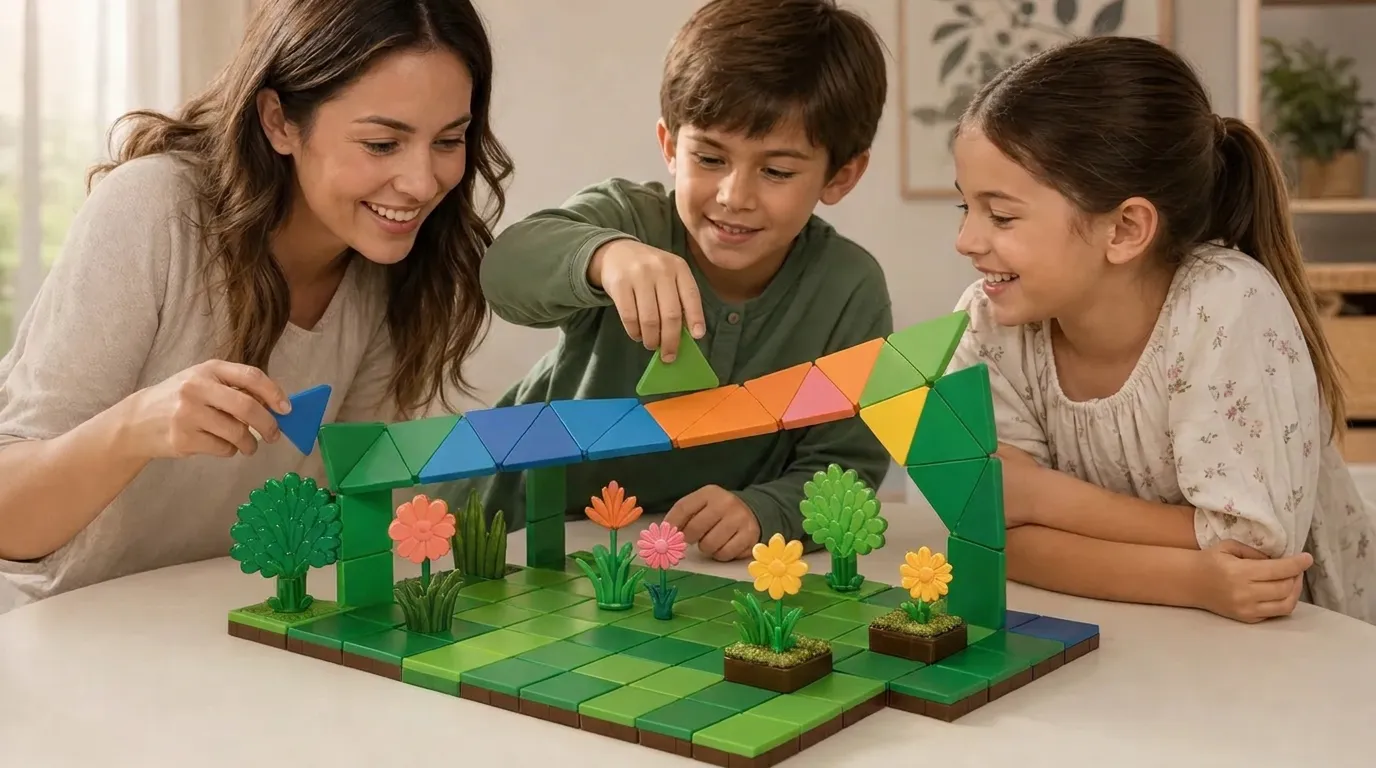
If the raised section leans, remove the highest piece first. Then try one of these calm fixes:
| What happened | What to try next |
|---|---|
| The build leans after one more triangle | Lower the feature and spread the square pieces into a wider base |
| A connection does not sit as expected | Do not force it. Rotate or reposition the separate pieces and try another angle |
| The garden feels crowded | Remove one feature and make it a separate nearby garden zone |
| Pieces are running low | Turn the large plan into a tiny flower patch, bird perch, or shaded corner |
Rebuilding is not a sign that the activity went wrong. It is the activity. The first version is simply the rehearsal. The second version may be shorter, wider, or delightfully strange, which is often where the best play begins.
Let the MagFlake magnetic tile lion den building activity change the plan
Once the garden has a few landmarks, it can become a story setting. Adults do not need to direct every detail. A useful approach is to notice what the child has already made and ask one open question: "What happens in this part of the garden?"
If the lion becomes part of the scene, a MagFlake magnetic tile lion den building activity can stay very simple. Use a few squares and triangles to make an open, low resting nook near a shrub or tree-like piece. Attach or position the lion where the set's compatible connection allows. There is no need to make a closed structure, add fences, or invent new scenery.
The same open scene can become a MagFlake magnetic tile animal habitat building idea for pretend play. Keep the wording playful and imaginary: the garden is not a real habitat model; it is a child-created place where the bird can visit a high spot and the lion can rest in a quiet corner.
Use a three-sentence story prompt
A MagFlake magnetic tile story frame activity works especially well when the build is open enough to see from every side. Instead of adding more pieces, add a quick beginning, middle, and ending.
For a MagFlake magnetic tile three sentence story prompt, try:
- First: Who arrives in the garden?
- Then: What changes in the garden?
- Finally: What does the garden look like when the day ends?
A MagFlake magnetic tiles sun and moon story activity can begin with the sun above the flower area. Later, the crescent moon or star can replace the daytime cue where compatible placement allows. Add one or two story pieces, not all of them at once. The garden should still have breathing room.
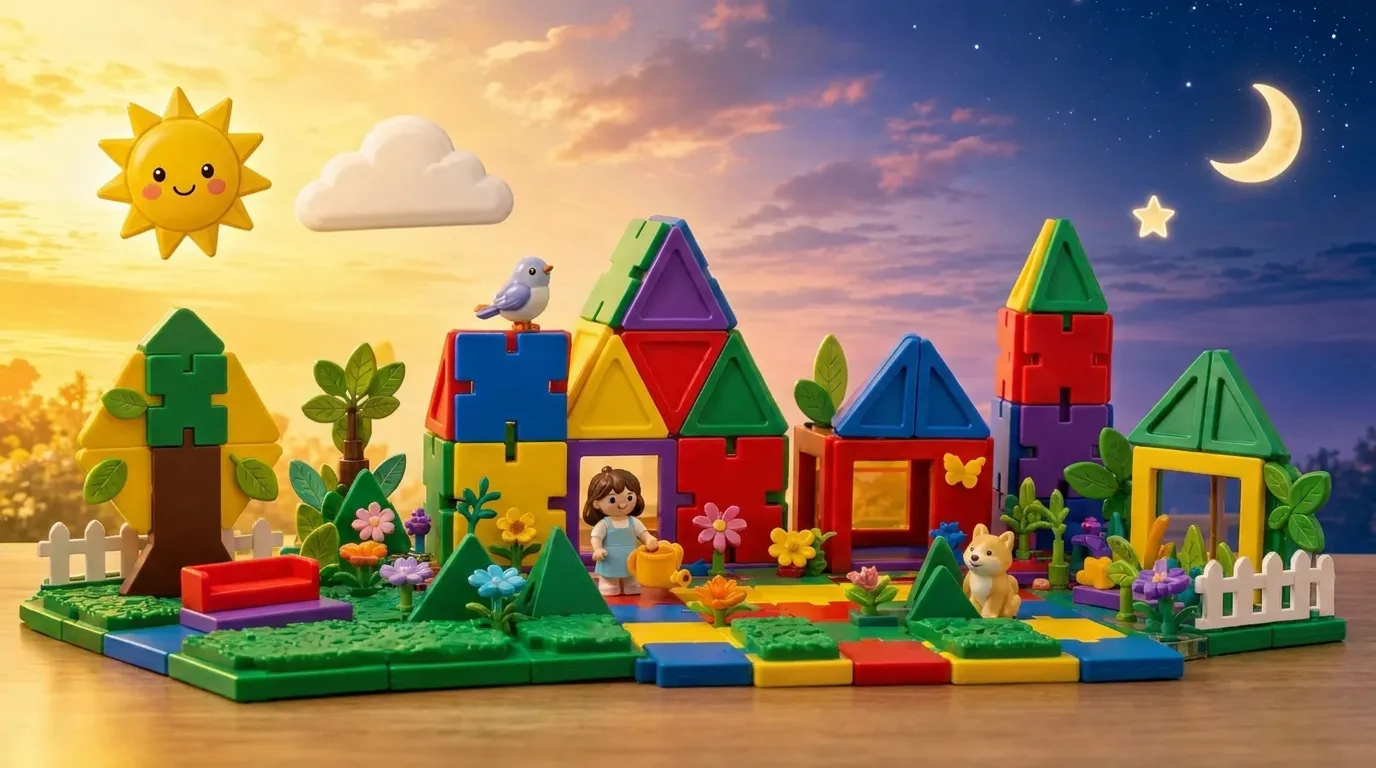
If siblings are building together, give each person a small role rather than dividing the garden into permanent territory. One child can place the base squares while the other chooses the garden landmarks. Then switch. If both want the same flower piece, try: "You choose where it goes first. Then your sibling chooses what happens next." Even the flower can have a schedule.
Test, reset, and save the next idea for tomorrow
Before the story begins, lightly touch the tallest or most angled part of the scene. If it shifts, lower it, widen the base, or reconnect one section at a time. A gentle check is enough. There is no need to prove the garden can survive a dramatic dinosaur stomp, especially since no dinosaur was invited.
When dinner is approaching, give a simple warning: "One more garden change, then we reset." Let children take a final look at what they made. If a photo is part of your family routine, this can be a nice moment for one, but it is optional.
For cleanup, sort into easy groups:
- Put squares and triangles together.
- Collect grass, flowers, and shrub or tree-like pieces.
- Gather the optional story pieces.
- Return everything to its storage place.
Counting is optional. Cleanup does not have to become a quiz. The useful goal is simply helping everyone find the pieces next time.
A small garden can become a flower patch, a bird lookout, a lion resting nook, or a moonlit story scene without needing a new plan every few minutes. If your family would like to try the activity with the documented garden and story pieces, explore the MagFlake 2 in 1 Magnetic Tiles 58-Piece Set and start with one small open space.
Comments
No comments yet. Be the first!