

Build a Magnetic Tile Bridge with Enough Clearance for the Car Chassis
Back to Journal News

Use the single wheeled chassis included in the 106-piece set as the fit gauge. Build the bridge first, then move the chassis gently toward the opening. If it touches the top or sides, adjust the tiles and test again. Do not rely on a fixed doorway size, because the available shapes and the arrangement of each build can differ.
The YRZtiles 106pcs STEM Magnetic Tiles and Building Blocks set is designated Ages 3+. Follow the current product label and instructions. Keep this project low on a floor or table. The bridge is for the included chassis to travel under, not for a child to climb on.
Gather Pieces for a Low Magnetic Tile Bridge
Set aside only the pieces needed for the first version. A small group keeps the work area clear and leaves room to revise the opening.
Use the pieces available in your set:
- The single wheeled chassis included in the 106-piece set.
- Flat geometric tiles for a short road or base.
- Available square, triangular, or rectangular pieces for supports and the overhead span.
- Optional open-frame pieces for side details.
- Optional door and window-style pieces for the scene after the bridge passes its chassis test.
Keep unused tiles in a nearby pile. This prevents the build area from turning into a colorful archaeological dig when one piece rolls under the sofa.
YRZtiles 106 Piece Magnetic Tile Set Parts List for This Build
A full count-by-shape inventory is not required for this project. If you are looking for a YRZtiles 106 piece magnetic tile set parts list, use the practical list above as a build checklist instead of a fixed recipe.
Gather the chassis first. Then choose enough flat and geometric pieces to make two short supports and one overhead connection. If the pieces on hand do not match the plan in your head, change the plan. The bridge only needs one job: make an opening the chassis can pass through in the current build.
Do not reserve every door, window, or open-frame piece for the bridge. Those pieces work better as optional details after the route is usable.
Build a Low Bridge With Two Supports
Choose a contained play space. A table corner or a small patch of floor is enough for a short route. Place the chassis nearby so it stays part of the build process instead of becoming the missing item everyone searches for after the bridge is finished.
Start with a low base.
- Place flat tiles to mark a short route.
- Leave a clear section in the middle for the bridge opening.
- Put unused tiles to one side of the route.
- Keep the route short if time is limited or dinner is approaching.
Build one support on each side of the route. The supports do not need to match exactly. Their purpose is to create two points where the overhead span can connect.
Use lower pieces first. A tall plan can use many pieces before anyone discovers the chassis cannot fit beneath it. A low plan makes the opening easier to see and revise.
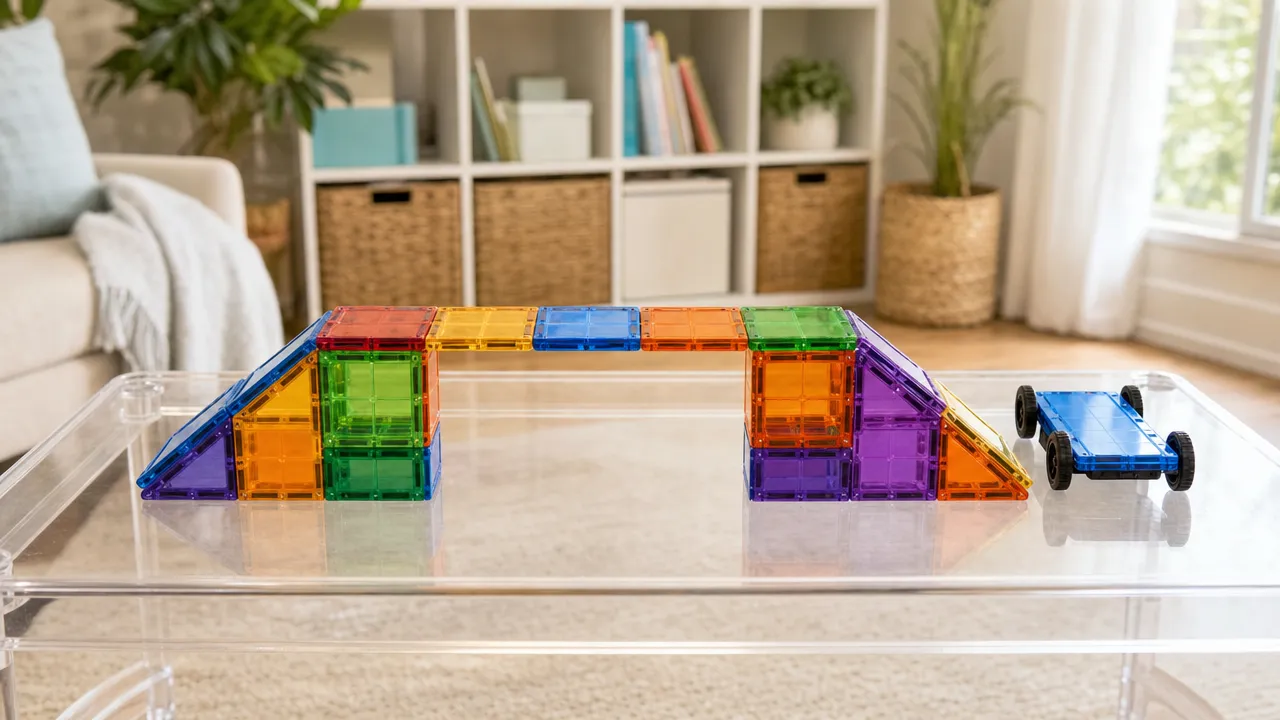
Add the overhead span after both supports are in place.
- Select available geometric pieces that reach from one support to the other.
- Connect the span across the top of the opening.
- Check that the opening remains visible from the front.
- Stop adding decorative pieces until the chassis test is complete.
Do not force a connection that does not sit as expected. Remove one piece, try a different orientation, or shorten the bridge. A bridge that changes shape halfway through is normal. It is not a failed bridge. It is version two arriving early.
Test Magnetic Tile Bridge Chassis Clearance
Use the actual chassis for the clearance check. This is more useful than guessing a magnetic tile garage doorway measurement or copying a measurement from another build.
Move the single wheeled chassis gently toward the opening. Watch where it stops.
- If it catches at the top, raise the overhead span.
- If it catches at a side, move one or both supports farther apart.
- If it catches at both the top and side, simplify the opening before adding details.
- If it passes through but shifts the build, lower or simplify the supports before the next test.
Do not push the chassis through a tight opening. A gentle test shows what needs changing without turning the bridge into a surprise pile of tiles.
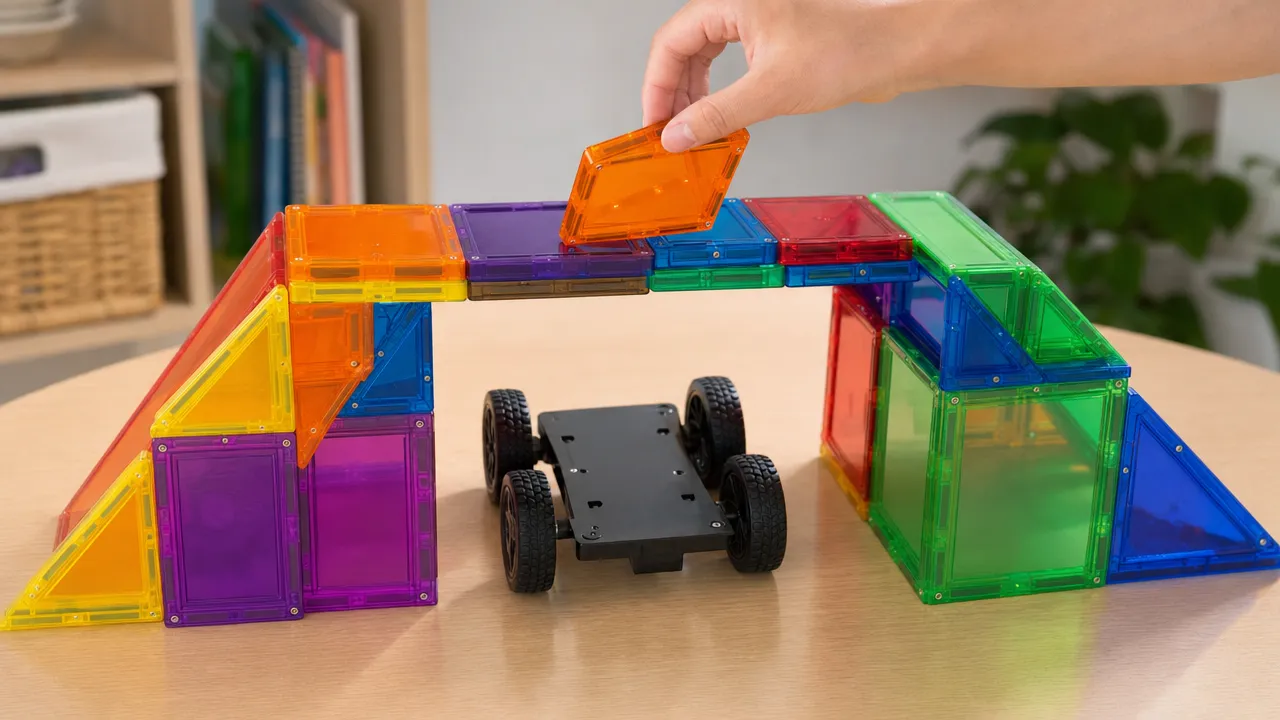
Run the chassis through the opening again after each change. Test from both directions if the route allows it. A support may look straight from one side while leaning slightly from the other.
Use this adjustment sequence:
- Test the opening with the chassis.
- Identify the contact point.
- Change one part of the bridge.
- Test again.
- Add optional details only after the current opening works.
If you want a related next project, the YRZtiles blog index includes a guide to build a garage opening and test the doorway. Use the same practical rule there: the included chassis decides the fit.
Fix Common Bridge Problems
Rebuilding is part of this activity. The original plan may use too many pieces, lean to one side, or become a castle halfway through because someone has decided the bridge now needs a lookout tower. Adjust the structure to match the available time and pieces.
| Problem | Likely Condition | Action |
|---|---|---|
| One support leans | The support is too tall or uneven for the current arrangement. | Lower that side, use a broader flat base if available, or remove one layer before retesting. |
| The span will not sit as planned | The selected shapes do not make the connection you expected. | Try a different piece arrangement, shorten the gap, or make a smaller bridge. |
| The chassis touches the top | The overhead opening is too low for this build. | Raise the span with a different arrangement, then test gently again. |
| The chassis touches a side | The supports are too close together. | Move one support outward or change the support shape. |
| Pieces are running low | Too many pieces are in the road, supports, or decorations. | Keep the bridge low, remove extra details, and make a shorter route. |
| The bridge shifts during a test | The build needs a simpler layout. | Lower the supports and reduce the number of pieces across the top. |
| Siblings want different designs | Two plans are competing for the same pieces. | Assign one person the opening test and the other person the route or building detail. Switch jobs after a pass-through. |
Use one change per test when possible. If you move both supports, replace the span, and add windows at the same time, it becomes harder to see what solved the problem.
A short after-school build can end after the chassis passes under the bridge once. That is a complete project. Save the larger scene for another day instead of stretching the session until cleanup becomes a second event.
Turn the Bridge Into a Small Play Route
Add story details after the chassis can pass through the bridge. Use window and door magnetic tile pieces to suggest an entrance, station, house, or bridge gate. Keep those pieces outside the opening so they do not reduce the clearance you just tested.
Use available open-frame or window-style pieces near one support to create a lookout. This can become one of several magnetic tile castle window designs without changing the bridge route. Build the castle section beside the bridge, not on top of the span, if you want to preserve the low opening.
For magnetic tile community building ideas, add one small place next to the route:
- A school with a simple front entrance.
- A library with window-style pieces.
- A clinic with a clear doorway.
- A fire station or delivery stop made from the remaining tiles.
The YRZtiles news section includes community-building and castle-window project ideas if the family wants to expand the route on another day.
A magnetic tile market stall pretend play extension can use a short counter and a small roof near the bridge. Paper signs, pretend parcels, toy figures, play food, and books are optional household props. They are not included with the set. Keep only one wheeled chassis in the scene.
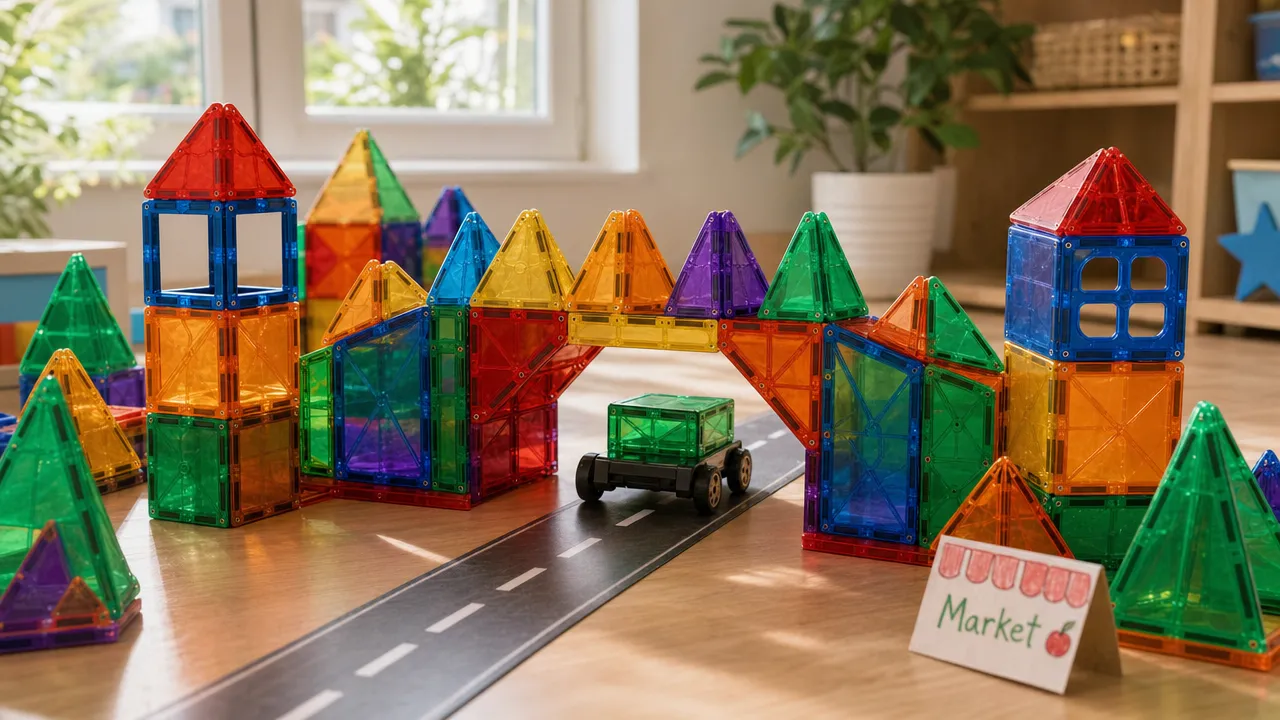
Keep the route simple when pieces run low. A bridge plus one building is enough for a complete play scene. A route that unexpectedly visits the sofa can wait for a longer play session.
Reset the Magnetic Tile Bridge Before the Next Activity
Return the single wheeled chassis first. This keeps it from being buried in the tile pile.
Use this short reset:
- Remove optional paper signs and household props.
- Separate the bridge into a central tile pile.
- Put the chassis back with the set.
- Store the tiles in the usual container.
- Leave one next-build note, such as "wider bridge" or "market stop."
Take a photo only if you want to remember the arrangement. Otherwise, let the bridge come apart. The next version can use fewer pieces, a different route, or a completely different plan.
For current set details and future build options, see the YRZtiles 106pcs STEM Magnetic Tiles and Building Blocks.
Comments
No comments yet. Be the first!