

How to Plan Large Builds with a 100-Piece Magnetic Tile Set
A 100-piece set supports a shared project when the group makes decisions before using the tiles. This shared-play routine uses one goal, defined zones, a common reserve, staged building, gentle checks, and a record of the finished design.
The YRZtiles 100-piece Classic magnetic tiles are a 100-piece Classic set. Use the process below to organize a neighborhood, open house, bridge, or another connected structure for Ages 3+.
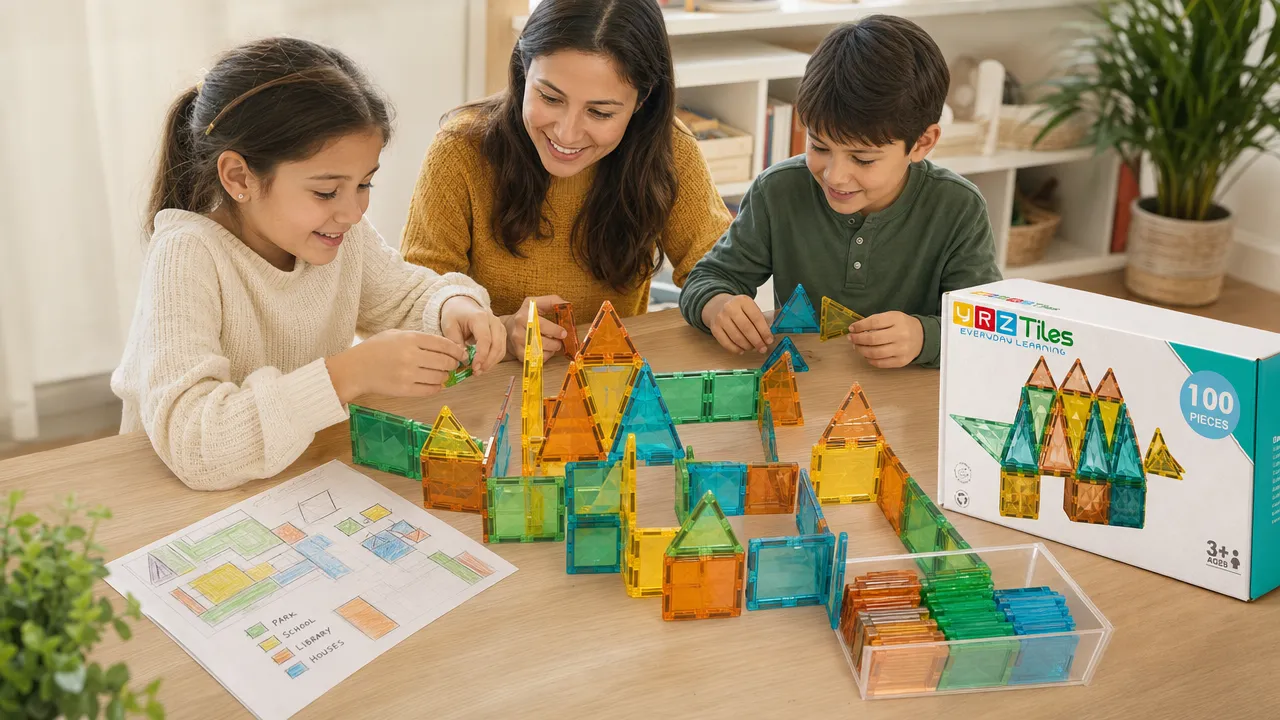
Set one purpose for the build
A shared build needs one clear purpose. Choose a project that gives each builder a connected job.
Use one of these prompts:
- Build a neighborhood with homes, a shared landmark, and a path.
- Build an open house with an entrance, rooms, and an open viewing area.
- Build a bridge that connects two separate build zones.
- Build a community structure with a shared entrance and individual features.
State the goal in one sentence. For example: "We will build a town with three connected areas." Do not begin with separate towers and try to join them later. That approach can use needed connecting tiles too early.
Next, name two to four zones. A neighborhood could have a building zone, a path zone, and an open-space zone. An open house could have an entrance, main room, and side room.
A spoken plan is enough for younger builders. Older children can make a quick map on paper. Paper, trays, toy figures, cardboard, and books are optional household materials; not included unless explicitly verified.
Plan the build in nine manageable steps
Use this sequence each time the group begins a larger project.
-
Define the purpose. Decide what the finished structure represents: a place, connection, or shared scene.
-
Set one shared goal. Keep the goal specific. "Build a bridge between two sides" gives clearer direction than "make something big."
-
Describe the zones. Identify where each part will go before construction begins. Leave open space between zones for a path, connection, or later revision.
-
Reserve tiles for the base. Set aside a small shared group of tiles for first-layer connections, repairs, and changes. Do not assign a fixed number of shapes because exact shape inventories should not be assumed.
-
Use flexible roles. Assign jobs, not permanent ownership of tiles. Useful roles include planner, base builder, connector finder, wall builder, detail builder, and photographer.
-
Build the main outlines first. Start with the base and major walls. Connect the zones before adding small decorative sections.
-
Check connections gently. Lightly add a nearby piece to see if the joined section stays together. Do not pull, twist, force, or use any structure to support body weight.
-
Revise when needed. If a section wobbles, crowds another zone, or consumes too many needed pieces, pause. Lower the section, widen its base, change the angle, remove a detail, or return tiles to the reserve.
-
Document the result. Take one overhead photo and one side-view photo. Ask each builder to name a zone or describe one revision. This record helps the group rebuild later.
This method helps when a group needs to share a 100-piece set. Keep most tiles in a central pool instead of making equal personal piles. A builder can request a piece, use it for a current need, then return it when the section is complete.
Give each builder a section to own
A magnetic tile set for two children works best when each child owns a zone but both children share the connection between zones.
For a house-and-garden project, Child A can make the house outline while Child B makes the garden or entry area. Pause after the first stage. Decide together where the doorway, path, or shared wall will go. Keep the connector tiles in the central reserve until both zones are ready.
For a bridge project, assign one builder to each side and a third role, if available, to test the joining section. If the bridge wobbles, lower it or simplify its span. Do not place objects on the bridge or treat it as load-bearing.
For a small neighborhood, use this build order:
- Mark the home, path, and landmark zones.
- Build low outlines for each area.
- Connect the path before making roofs or tall features.
- Add one feature per builder after the shared connections are complete.
- Photograph the layout before taking it apart.
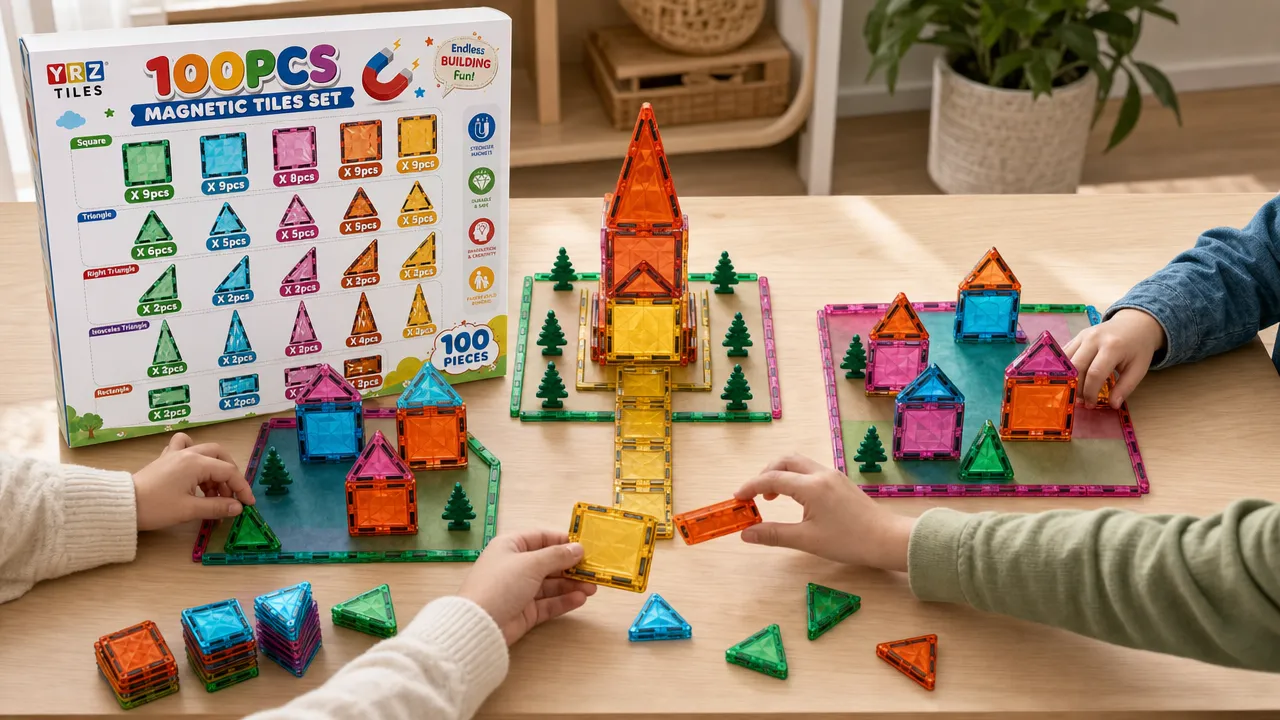
How smaller sets change the plan
Use set size to choose project scope, not to predict a specific footprint. The available play surface depends on the layout, build height, and how widely the group spreads materials.
| Comparison | Verified distinction | Practical planning use |
|---|---|---|
| 32 versus 100 pieces | A 32-piece Classic set has fewer available pieces than a 100-piece Classic set. | Use 32 pieces for a compact activity area and one short goal. Use 100 pieces for several connected zones and a larger shared reserve. |
| 32 versus 106 pieces | The Classic sets contain 32 and 106 pieces. The 106-piece Classic set has documented architecture pieces and one wheeled chassis. | Choose the 106-piece option when those documented elements fit the intended project. Do not assume the exact shape mix of either set. |
| 100-piece Classic versus 58-piece MagFlake | The 100-piece Classic set and the 58-piece MagFlake set are separate systems. MagFlake has magnetic edges and interlocking slots. | Use Classic-set planning for a 100-piece Classic group build. Do not assume pieces, features, or accessories transfer between Classic and MagFlake. |
The YRZtiles 32-piece Classic magnetic tiles fit short, contained activities. The YRZtiles 106-piece Classic magnetic tiles provide the documented architecture pieces and one wheeled chassis. MagFlake 58-piece hybrid magnetic tiles are a separate hybrid system and should be planned as such.
Try these smaller-set challenges:
- Build a small shelter with one visible entrance.
- Make a flat design, then convert part of it into a standing form.
- Create a bridge shape, then revise it using fewer pieces.
- Build a rocket, animal, or small house and change one feature without taking apart the full build.
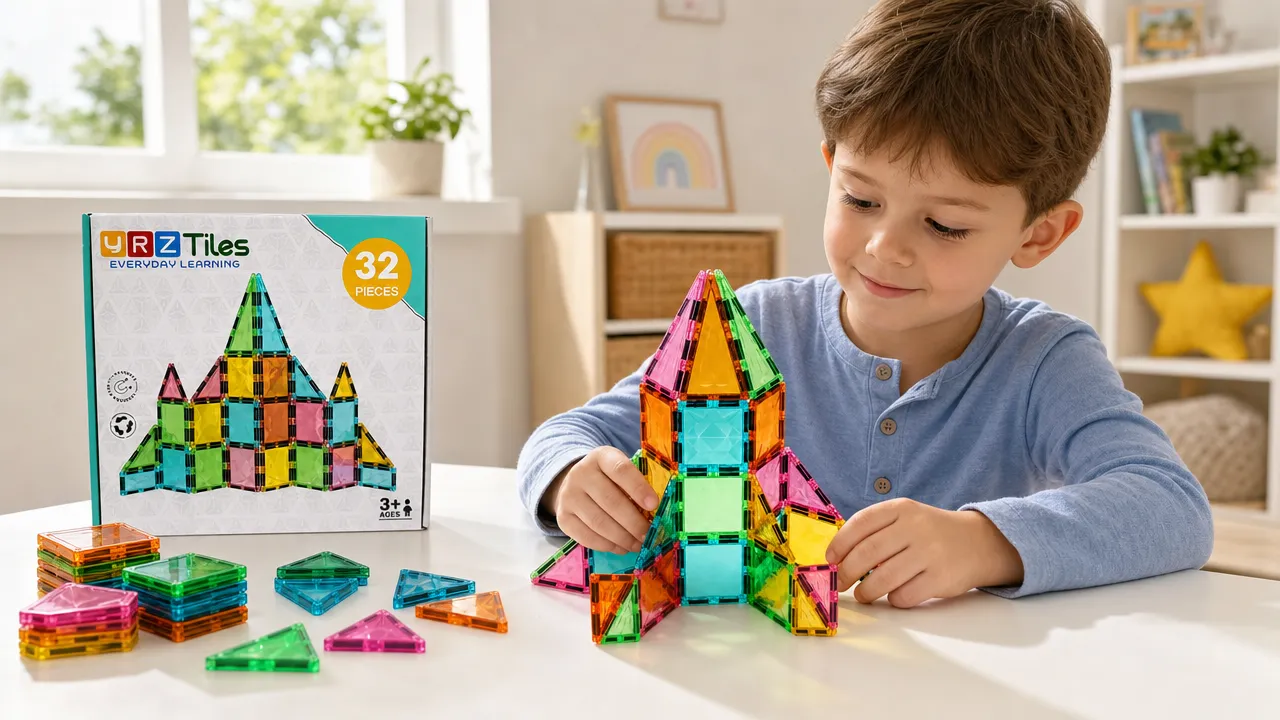
Safety and cleanup
Use magnetic tile sets for Ages 3+.
Inspect pieces before every activity. Stop using cracked or separated pieces. Stop using any piece with an exposed or missing magnet.
Keep magnet-containing pieces away from younger children. Seek immediate medical attention if magnet ingestion is suspected. Follow current guidance from the U.S. Consumer Product Safety Commission.
Use a flat, cleared surface when possible. Keep the build at a manageable height. Do not use structures for sitting, standing, climbing, leaning, or supporting objects.
Record what worked and reset
A repeatable shared-play plan works when the group protects its shared pool and builds the essential connections before details. Start with one goal, define zones, reserve tiles for the base, build in stages, test gently, revise, and photograph the result.
For a larger connected project, review the verified details for the YRZtiles 100-piece Classic magnetic tiles.