

Build a Magnetic Tile Garage That Fits the YRZtiles Chassis
A magnetic-tile garage can look impressive and still fail its first job: letting the vehicle through the door. One wheel catches a wall, the roof shifts, and suddenly the garage is having a more dramatic afternoon than anyone planned.
A practical fix is to skip guessed measurements. Use the wheeled chassis itself as the measuring tool. Build a simple opening, test it gently, and change one part at a time until the route works. Children get a useful building challenge, while adults avoid turning a short play session into a construction conference.
This activity uses the YRZtiles 106pcs STEM Magnetic Tiles and Building Blocks. The Classic set includes one wheeled chassis, so keep that piece nearby throughout the build. One chassis is enough for the measuring, testing, and pretend-play steps below; there is no need to plan a fleet.
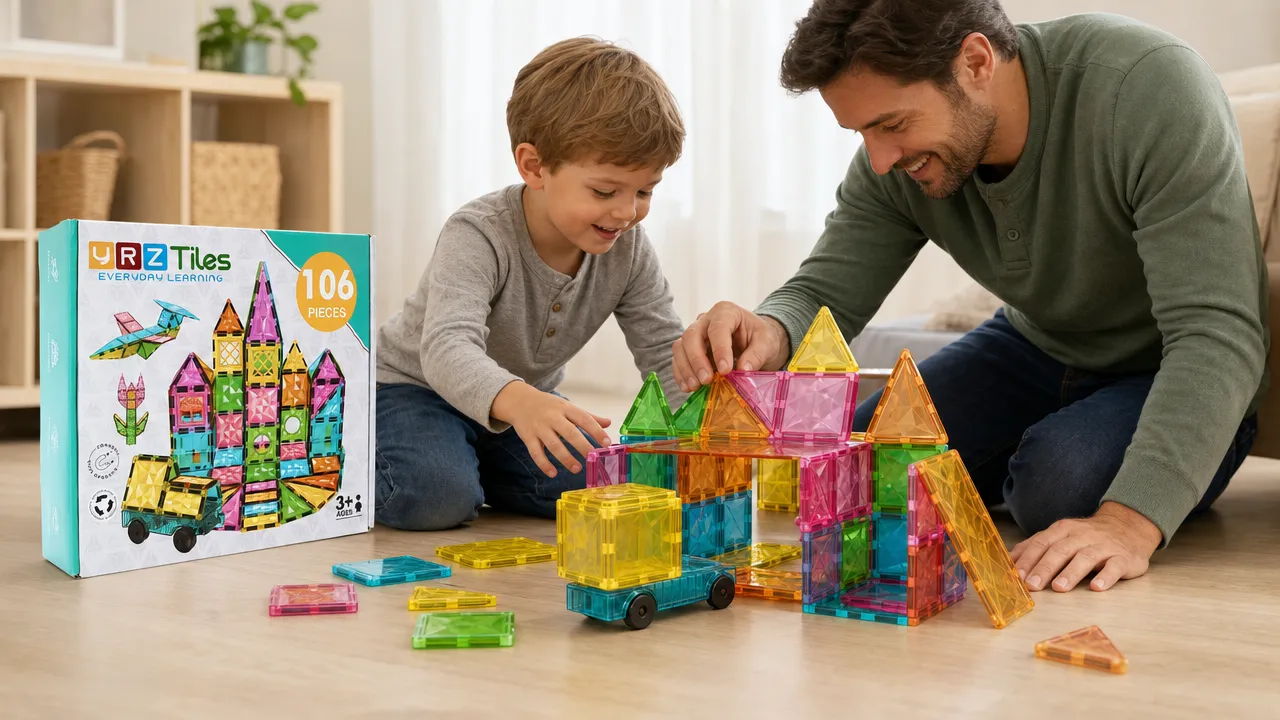
Start with a small, clear work area
Choose a flat patch of floor or a sturdy table where the chassis can roll toward the garage in a straight line. Clear away cups, books, and stray toys before opening the tiles. A clear approach matters more than a large play area. On a crowded afternoon, a strip of floor beside the rug can work perfectly well.
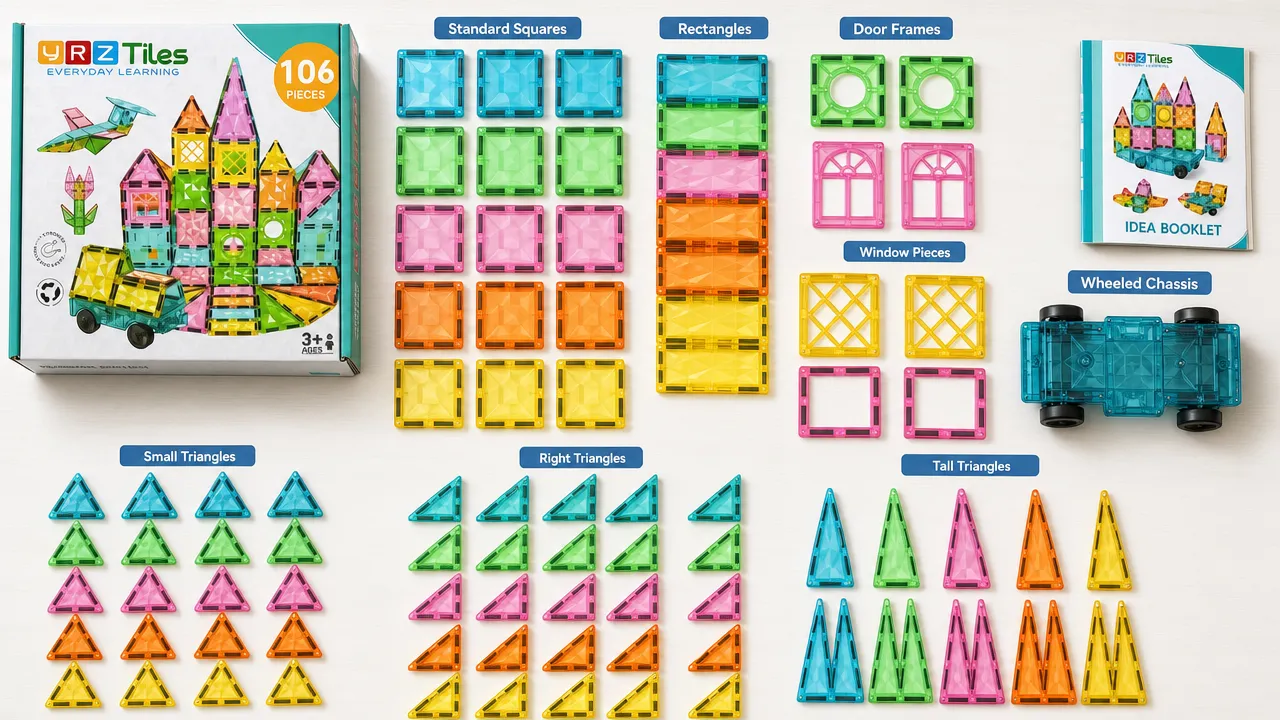
Pull out a modest working group instead of emptying the entire set:
- The single wheeled chassis
- Several standard squares for the entrance and side walls
- A few rectangles for longer wall sections or a service counter
- One or two open-square or door-frame pieces for visual details
- A few triangles if your child wants to try a roof later
- One favorite window piece for the garage office, if desired
The open frames and door panels can help the front look like a garage, but do not assume any particular piece will automatically fit around the chassis. The physical chassis in your set is the reference. No ruler, template, or invented doorway dimension is needed.
If siblings are building together, give each person a first job. One child can keep the chassis parked beside the work area. Another can choose wall pieces. A third can clear the test lane. Rotating these jobs later is usually easier than negotiating ownership of every square before the first wall exists.
Build the entrance before the garage
It is tempting to start with a roof, an office, and a row of fancy windows. Save those ideas for later. First make the one part the chassis must use.
- Park the chassis at the starting line. Set it a short distance from the planned entrance, pointed straight toward the build. You only need enough room for a gentle approach.
- Place two low doorway sides. Use standard squares or rectangles to mark the left and right edges. Keep the middle open at floor or table level.
- Compare before connecting more pieces. Look at the chassis beside the gap. If the opening already appears crowded, move a side outward now.
- Guide the chassis forward slowly. Hold the chassis itself and roll it toward the opening. Do not shove it through resistance or use the garage wall as a bumper.
- Notice exactly what touches. Is it a side, a wheel area, or a piece above the opening? Naming one contact point gives the child a manageable problem to solve.
- Change one part and test again. Move one side, clear the floor-level path, or remove an upper piece. A single change makes it easier to see what worked.
At this stage, the entrance may look more like two lonely walls than a grand garage. That is fine. They are doing the most important work in the whole build.
Use a gentle fit-test loop
The fit test should feel like play, not an inspection children can fail. Try the sequence "roll, notice, revise, roll again." Keep the language concrete: "The left wheel touched," or "The top piece moved." Avoid broad judgments such as "The garage is wrong."
Use this quick guide when something catches:
| What happens | What to try next |
|---|---|
| One side of the chassis touches | Move that doorway side outward, then repeat the approach. |
| A wheel meets a tile edge | Clear and straighten the floor-level path. |
| A piece above the entrance touches | Remove it or rebuild the upper section higher using the pieces you have. |
| The doorway shifts during the test | Take off decorative pieces and return to two simpler sides. |
| The chassis enters but cannot come back out easily | Test from the opposite direction and open the tighter side. |
| The family is running out of squares | Keep an open-front service bay instead of enclosing the garage. |
Test from the same direction twice after a revision. The first pass may nudge a wall slightly; the second shows whether the opening still feels clear. The goal is not a guaranteed performance standard. It is a child-made structure that works for this chassis in this play session.
If a child wants a grown-up to fix everything at once, offer a smaller choice: "Should we move the left wall or take off the top piece first?" Two options keep the child involved without making the moment feel like a quiz.
Add the garage around the working route
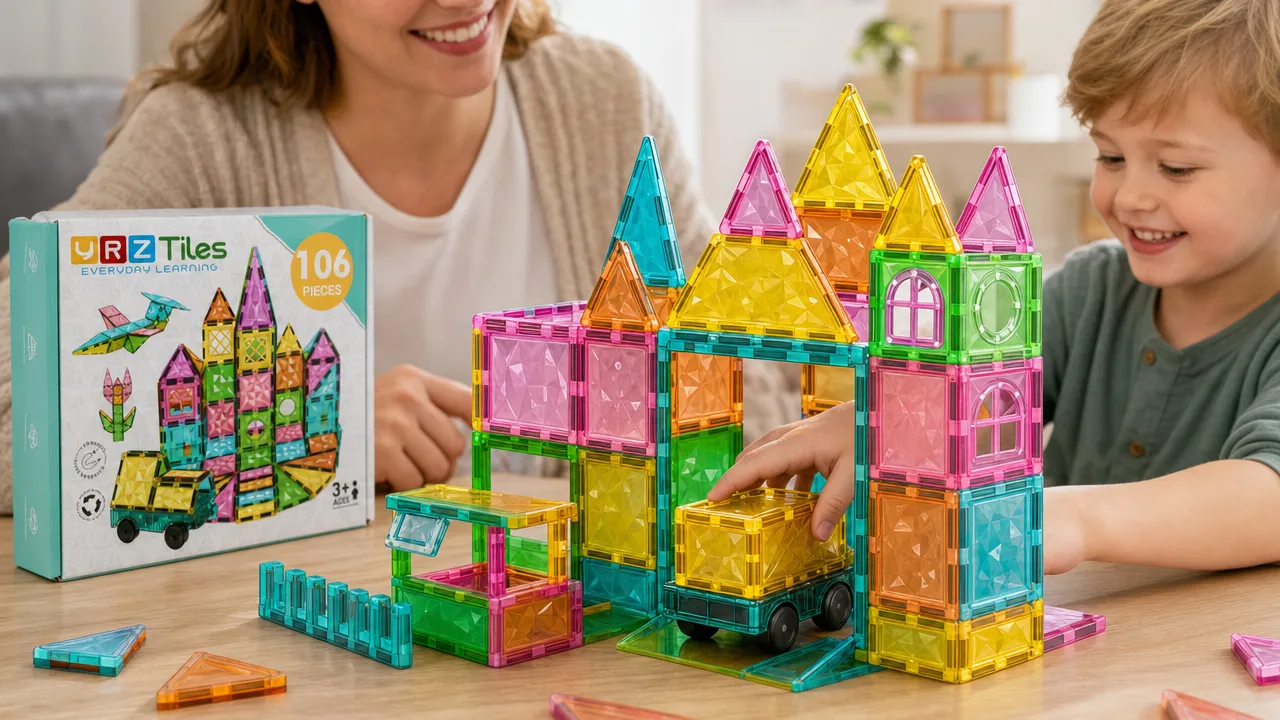
Once the chassis moves through the opening without obvious contact, expand the building in stages. Repeat the test after each stage so a new wall or roof does not quietly undo the useful doorway.
Add short side walls
Connect a few squares or rectangles behind the doorway sides. Start with walls only one piece high. A low garage is easy to reach into, simple to revise, and less likely to turn the doorway test into a rescue operation.
Leave the back open during the first round. Children can guide the chassis in from the front and lift it out from behind without reaching through the structure. If the play area is small, an open back also saves pieces.
Make one parking spot
Place a few tiles flat beside the garage, or use a small specialty or fence-style piece as a visual boundary. This can be the waiting area while the garage is "busy." Keep every boundary away from the tested route.
There is only one included chassis, so the second parking spot does not need a second vehicle. An empty space can be "reserved," which has the useful side effect of requiring no additional pieces at all.
Add a service corner
Use a rectangle or a short row of squares beside the entrance as a pretend check-in counter. A window piece behind it can suggest a small office. Keep this detail off to one side, where hands and the chassis will not bump it on every trip.
Optional paper signs, route cards, toy figures, and pretend tools can add to the story, but they are not included with the set. Keep loose props lightweight and out of the drive-through path.
Try a roof only after the route works
A roof is optional. If your child wants one, add a small upper section over part of the garage and test the entrance again. When the new section leans, crowds the opening, or makes revisions frustrating, remove it and keep an open-front or open-top garage. The chassis will not complain about the lack of covered parking.
Do not promise that a particular roof arrangement will stay together. Use the pieces you have, watch how the build behaves, and simplify when needed. The garage should remain on the floor or table; it is not for climbing, leaning, or supporting body weight.
Turn revision into part of the story
A child may be more interested in pretend repairs than doorway geometry. Let the story carry the testing.
The chassis can arrive for a routine check. The garage attendant rolls it toward the entrance and discovers that the doorway is "closed for remodeling." A second builder moves one wall. The attendant tries again, parks inside, and announces that the garage is open.
For two children, alternate short roles:
- Driver: Guides the chassis gently and reports what touched.
- Builder: Changes one doorway or wall piece.
- Garage attendant: Points to the parking spot or service counter.
- Safety checker: Makes sure the route is clear of loose props.
Switch roles after two test runs. This keeps one child from controlling the chassis for the entire session and gives the other child a reason to care about revisions.
For solo play, an adult can simply narrate observations: "The right side moved. What could we change?" Then pause. Children often need a few seconds to look before they decide. There is no need to supply a solution while they are still studying the problem.
Adapt the build to real family time
Not every garage needs to become a weekend project. Match the version to the time, space, and energy available.
For a quick after-school build
Make only the entrance, two short walls, and one parking spot. Complete three gentle fit tests, then use the garage for one pretend visit. That is a finished activity, even without a roof.
For a small tabletop
Build a front facade and one short side wall. Leave the back and top open. Position the entrance so the chassis rolls parallel to the table edge rather than toward a cup, plate, or laptop.
When pieces are running low
Keep the tested doorway and remove the least important wall. A service bay can be suggested by two entrance sides, a counter, and a window. Children do not need four complete walls to understand the scene.
When the build keeps wobbling
Take off upper details first. Shorten long walls. Reconnect the entrance on a flat surface, then test again. Rebuilding a small section is usually more satisfying than repeatedly propping up a complicated roof.
When dinner is nearly ready
Choose a stopping point that makes sense in the story: the chassis is parked, the garage is closed, and the attendant has gone home. Take a photo if your child wants a reference for tomorrow. A phone is optional household equipment and, naturally, is not included with the tile set.
Finish with one final check and a simple reset
Before ending play, roll the chassis through the entrance once more. Ask the child what changed between the first test and the last. The useful answer may be as simple as "We moved this wall." That small observation captures the whole activity: build, notice, and improve.
Then close the garage in a practical order:
- Remove any optional paper signs, figures, or other household props.
- Take down roof pieces and upper decorations first.
- Separate the side walls from the doorway.
- Collect the single chassis before it rolls under furniture.
- Group windows, doors, squares, rectangles, and triangles for storage.
- Let an adult inspect the pieces as they are gathered.
This is an Ages 3+ activity. An adult should inspect all pieces before play. Stop using any cracked, separated, or damaged piece, including a piece with an exposed or missing magnet. Keep magnet-containing pieces away from younger children. If magnet ingestion is suspected, seek immediate medical attention. Caregivers can review the U.S. Consumer Product Safety Commission's magnet safety guidance.
The most useful garage is not necessarily the tallest or most detailed one. It is the one a child can test, adjust, and use without every trip ending in a collapsed doorway. Start low, let the chassis answer the fit question, and add only what the family has time and pieces to enjoy.