

4 Community Buildings Kids Can Design with Magnetic Tiles
A child can announce plans for an entire town at 4:42 p.m., when dinner is close and the available floor space is roughly the size of a bath towel. Fortunately, a neighborhood does not need streets full of giant structures. Four small, recognizable building fronts can create plenty of play.
The goal is not architectural realism. It is to give each place one entrance, one window feature, and one simple reason for people to visit. With the YRZtiles 106pcs STEM Magnetic Tiles and Building Blocks, families can build a school, clinic, fire station, and library one at a time or as a compact group.
These are static building scenes. Keep them on a flat floor or table, focus on doors and windows, and leave plenty of room for hands. No roads or vehicle builds are needed. The neighborhood can enjoy a pleasant walking culture.
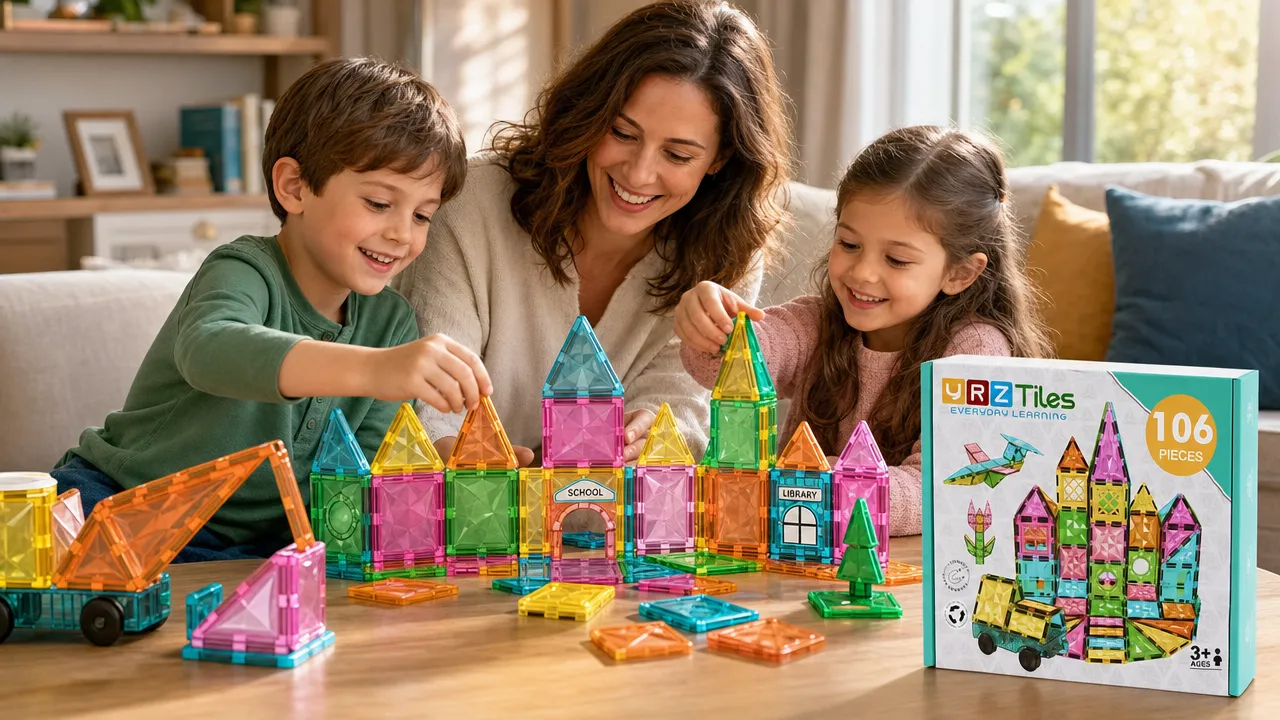
Make a plan that fits the room
Choose a clear, flat play area before sorting tiles. A rug corner works for children who like to move around a build. A table works for front facades and short walls. If space is tight, place a tray or shallow bin lid nearby to hold unused pieces. The tray is optional household equipment and is not included with the set.
Do not divide all the pieces equally at the start. Instead, reserve a few visual clues for each building:
| Place | Entrance clue | Window clue | Story clue |
|---|---|---|---|
| School | Open frame or double-door panel | Lattice or arched window | Welcome sign or classroom picture |
| Clinic | Clear single entrance | Round window | Check-in note or waiting spot |
| Fire station | Wide-looking front opening | High side window | Paper map or equipment area |
| Library | Welcoming door | Arched or lattice window | Return sign or paper books |
Optional paper signs, folded-paper books, notepads, and toy figures can support the stories below, but they are not included with the tile set. Keep props loose and lightweight. There is no need to tape or clip anything to a tile.
If one child is building, make the four places in sequence and reuse the basic wall pieces. If siblings are sharing, let each person choose an entrance or window first, then draw from a common pile of standard squares and rectangles. This works better than discovering halfway through that one building owns every square in town.
1. Give the school a front everyone can find
A school is easiest to recognize when the entrance takes center stage. Begin with an open frame or double-door panel on the flat surface. Add two or three standard squares on each side to make a low front wall.
Choose a matching pair of lattice-style windows if they are available, or use one arched window as the special feature. Place windows beside the entrance rather than hiding them behind side walls. A rectangle above the door can become a visual sign band. If your child wants a name, lean an optional paper sign nearby; the paper is not included.
Keep the first version to a facade and one short side wall. That gives children space to reach behind the school and move figures without pulling on the roof. A few triangles can suggest a roofline, but a flat top is just as usable.
Try a quick front-door check: Sit where the child will play and ask, "Where does everyone go in?" If the answer takes a long search, move a wall piece or bring the entrance forward. The test is about visual clarity, not finding one correct arrangement.
For pretend play, one person can greet arriving students while another chooses the day's first activity. An optional figure might hang a paper picture in a classroom window, return a lunch box, or announce that today is pajama day. The school story can last two minutes or twenty; it does not need a lesson plan.
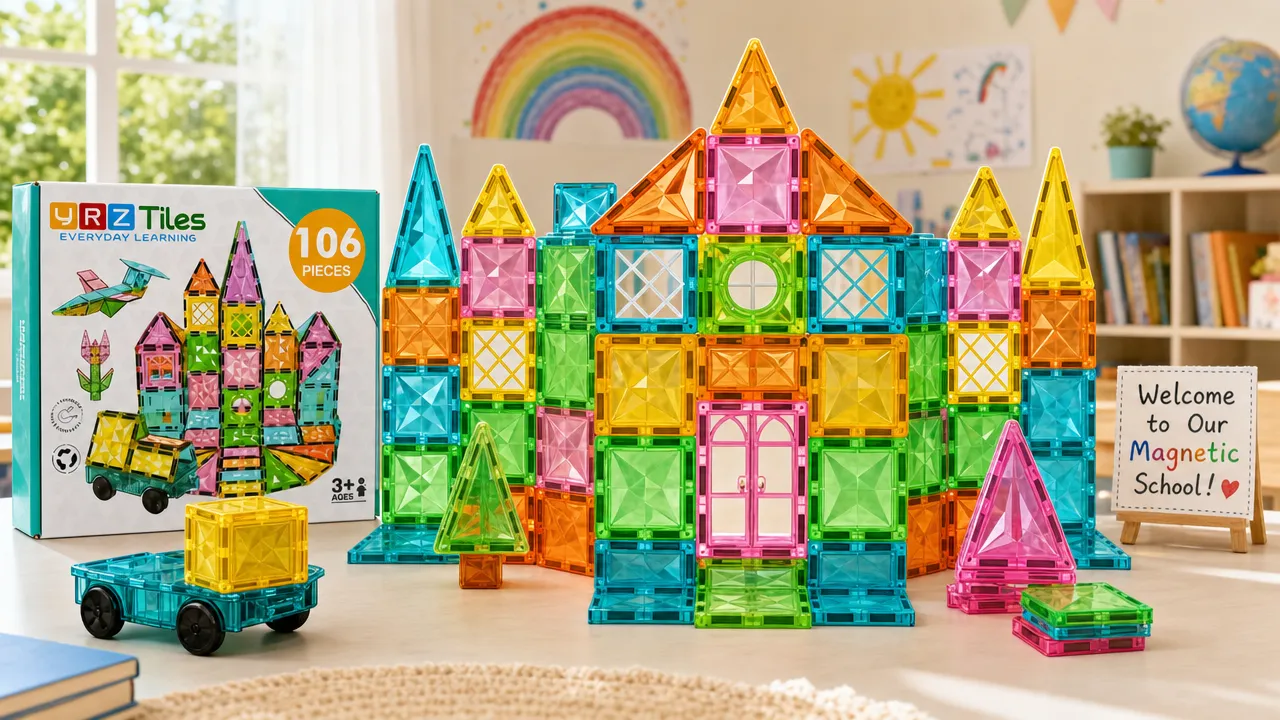
2. Make a clinic with a calm check-in spot
Build the clinic lower and smaller than the school so the two places look different. Start with a short row of standard squares and leave a clear gap or open frame for the entrance. Add one round-window square beside it as the identifying detail.
A rectangle placed horizontally along the front can suggest a check-in counter or sign area. One small specialty or fence-style piece may mark a waiting spot, but treat it as a visual cue rather than a working fixture. Leave the back open so children can reach the inside comfortably.
Try a reach check: Have the child move an empty hand from the entrance to the check-in area. If the hand knocks the window or wall every time, shorten the side or rotate the model. A smaller clinic that is easy to use will support more play than an enclosed one that needs constant adult repair.
Keep the story gentle and familiar. A visitor can check in, sit by the round window, receive an imaginary bandage, and hear that it is time to rest and drink some water. An optional paper appointment card or toy figure is not included with the set. Avoid using real medicine, medical tools, or small household objects as props.
When the front wall leans, remove the counter detail first and reconnect the entrance and window. Once those two clues are clear, decide whether the counter needs to return. It is useful, but it is not the clinic's entire identity.
3. Build a fire station with a bold entrance
The fire station should look different from the clinic at a glance. Make the front broader, using standard squares on both sides of an open frame or a pair of door-style pieces. The entrance is a visual equipment-bay opening; it does not need a measured clearance or any moving feature.
Place a rectangle above or beside the opening as a sign band. Add one arched or round window higher on a side wall to give the building a clear second feature. A few triangles can form a modest roofline, but keep the center open and reachable.
Try a silhouette check: Look at the station from across the play area. Does the wide entrance still stand out? If a roof or extra wall makes the front look crowded, take that piece away. The station should be readable without requiring a long explanation from its architect, although the architect may provide one anyway.
For a calm role-play scene, firefighters can check a paper neighborhood map, practice putting pretend equipment back in its place, or help a resident find a missing stuffed toy. Paper maps and toy figures are optional and not included. There is no need for alarms, crashes, or vehicle play to make the station interesting.
If children want more action, create a simple call-and-return rhythm within the static scene. One child names a low-stakes neighborhood problem, such as a kite caught in an imaginary tree. Another points to the location on the optional paper map. Then everyone returns to the station and puts the map back at the desk.
4. Create a library with a reading window
Begin the library with a centered open frame or double-door panel. Add a low row of standard squares on both sides, then choose an arched or lattice-style window for a reading nook. Place the window where children can see it from the front and reach the area behind it.
A rectangle near the entrance can suggest a returns desk. A small specialty or fence-style piece may mark the return area, but keep it low and out of the main hand path. If triangles remain, add a simple roof accent. If not, a flat-topped library is still fully open for pretend business.
Optional folded-paper books can be made from scrap paper, but they are not included with the set. Make them large enough for the children using them and keep them loose on the table or floor. A paper "Returns" sign can lean against the front instead of being attached.
Try a two-clue check: From the normal play position, can the child see both the entrance and the reading window? If one disappears behind a side wall, turn the facade slightly or move one square. A tiny adjustment can make the whole building easier to understand.
For role play, a librarian can welcome a visitor, accept one folded-paper book, and recommend a wonderfully serious title such as The Dragon Who Misplaced Tuesday. Another child can choose a reading spot near the window. Switch jobs after one return so nobody spends the afternoon enforcing imaginary late fees.
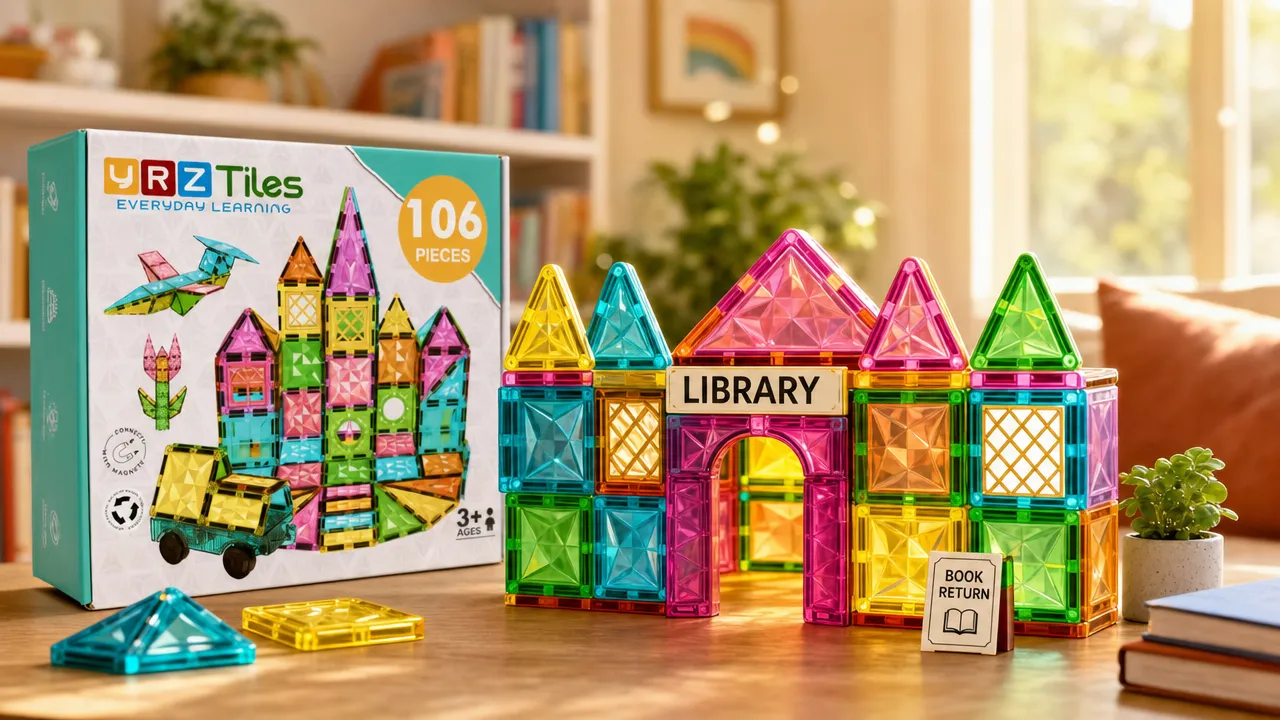
Arrange the four places without building a giant city
If the family wants all four buildings present together, use facades instead of full rooms. Place them in a loose row with a hand-width of open space between structures. The gap helps children reach each entrance and reduces the chance that adjusting the library also remodels the clinic.
You can also build the places one at a time and reuse the same wall pieces. Sequential building is often the better choice on a small table or when more than one idea needs the same special window.
To keep the neighborhood story clear, give each place one short scene before moving on:
- Welcome someone at the school.
- Check in one visitor at the clinic.
- Solve one calm neighborhood problem from the fire station.
- Return and choose one paper book at the library.
That sequence creates a connected play session without adding more buildings, routes, or complicated props. It also gives the family a natural stopping point when time runs short.
Help children revise one visible problem
When a wall falls or an entrance disappears behind extra tiles, resist rebuilding the whole scene immediately. Ask what needs to stay. A child may choose the school door, clinic window, station entrance, or library desk. Preserve that clue and simplify around it.
Use questions children can answer by looking:
- Can you find the front entrance?
- Which window makes this place different?
- Can your hand reach the play area?
- Is the wall too tall for this table?
- Which one piece could we remove?
These prompts keep revision practical. They do not turn play into a formal lesson, and they leave room for a child to decide that the crooked roof is intentional because "the builder had a funny day."
Close the neighborhood and store the pieces
Give each building a clear closing moment: school is out, the clinic has seen its last visitor, the fire station has put away its map, and the library has collected its books. Remove all optional paper and toy props before taking down the tiles.
Disassemble roofs and upper pieces first. Then separate facades and side walls. Group windows and doors where they will be easy to find next time, and gather standard squares, rectangles, and triangles into the storage container. An adult can inspect each piece during this process.
This is an Ages 3+ activity, and an adult should inspect all pieces before play. Stop using any cracked, separated, or damaged piece, including a piece with an exposed or missing magnet. Keep magnet-containing pieces away from younger children. If magnet ingestion is suspected, seek immediate medical attention. Caregivers can review the U.S. Consumer Product Safety Commission's magnet safety guidance.
Four small facades can carry a surprising amount of family play. A visible door, a memorable window, and one simple scene are enough to make each place feel different. The town may fit on a table, but its school pajama policy and library book selection can remain impressively ambitious.