

3 Magnetic Tile Castle Window Designs to Try with the YRZtiles 106-Piece Set
A castle plan can grow alarmingly fast. One child wants a tower, another wants a grand entrance, and someone has promised a ballroom to three toy guests who did not exist five minutes ago. Meanwhile, the dining table would still like to host dinner.
Specialty windows offer an easy way to make a small castle section feel distinctive without building an entire kingdom. The YRZtiles 106pcs STEM Magnetic Tiles and Building Blocks includes two round-window squares, two arched-window squares, and two lattice-style window squares. Each matching pair can anchor one clear castle idea.
The three projects below are flexible play suggestions, not official blueprints. Build them one at a time when space or pieces are limited, or place the finished sections near one another if the family has room. Keep the supporting walls low, revise anything that leans, and let the windows do most of the storytelling work.
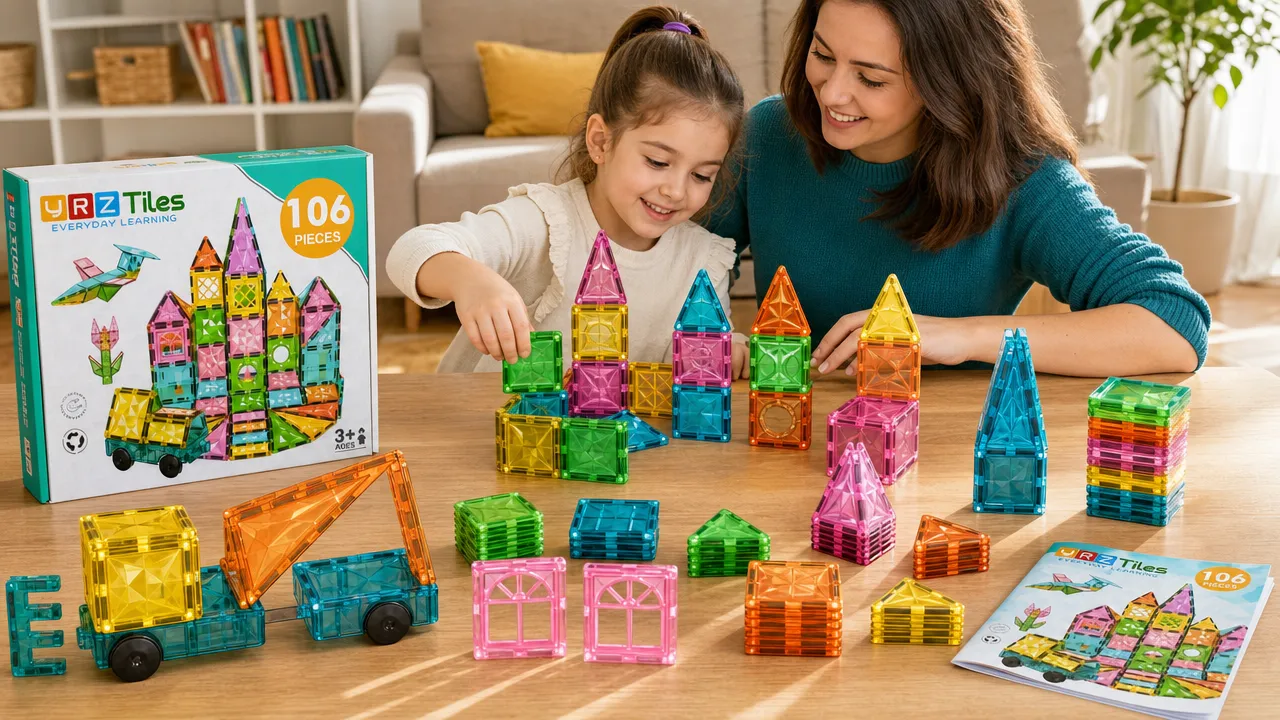
Sort the six feature windows first
Before the standard squares disappear into an ambitious roof, find the three matching window pairs:
- Two round-window squares
- Two arched-window squares
- Two lattice-style window squares
Place each pair in its own small pile. Then gather standard squares for walls, a few rectangles for wider sections, and a modest selection of triangles for optional roof details. Open frames or double-door panels can be used for a visual entrance if a design calls for one.
Choose a flat floor or table and set a boundary for the build. A tray or rug edge can mark the work area without becoming part of the structure. If homework, snack bowls, and uncapped markers already occupy most of the table, plan one facade or corner rather than a four-sided castle.
For siblings, assign one window pair to each builder for the first few minutes. That gives everyone a starting point without dividing every standard square into tiny diplomatic territories. Builders can share the wall pile and ask before borrowing from another person's window pair.
1. Make a round-window corner tower
The two round windows make a strong visual pair for a compact tower at one corner of a castle scene. This is a story tower, not a structure with a promised height or special function. Keep it short enough for children to reach and revise comfortably.
Build the lower section
Start with a small square or rectangular footprint. Connect standard squares around the edges to form one low level. Leave one side open if hands need easier access; a three-sided tower corner can read just as clearly as a closed shape.
Place one round-window square on the front-facing wall. Put the second on an adjoining side so both remain visible from the usual play position. If the corner begins to lean, remove a wall piece, reconnect the base on the flat surface, and try again before adding height.
Add only the detail the build can handle
Use a few more standard squares for a short upper section if the lower walls stay in place during ordinary handling. A triangle or two can suggest a pointed roof, but the roof is optional. An open top gives toy figures an excellent view of the ceiling, which they will presumably appreciate.
Do not keep adding levels simply because pieces remain in the bin. Stop when the round windows are easy to see and the child can reach the inside without pulling on the walls.
Test and play
Look at the tower from the side. If an upper wall repeatedly shifts, take off that level and make the footprint simpler. Keep the round-window pair as the identifying feature while other pieces change.
For a short pretend scene, the tower can be a place where a castle resident checks the weather, watches for party guests, or sends a paper invitation to the courtyard. Paper notes and toy figures are optional household props and are not included with the set. The windows are visual story cues; they are not described as protective or working architectural features.
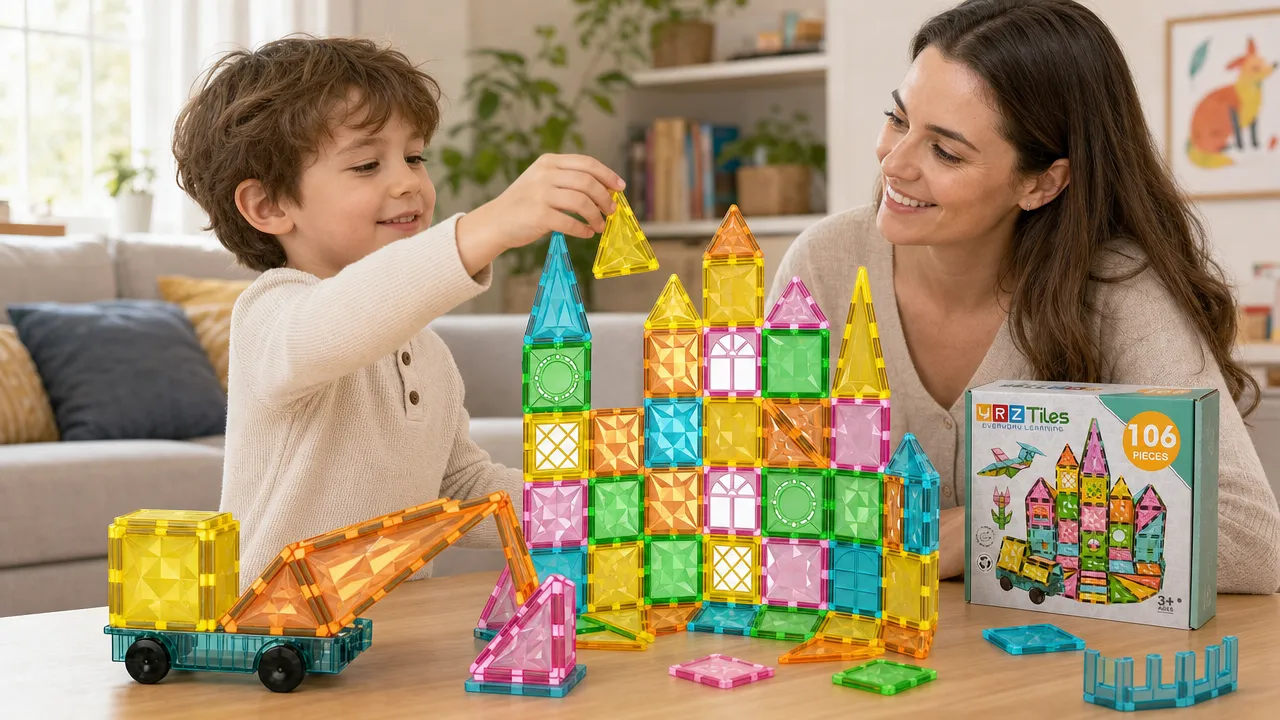
2. Build an arched-window welcome hall
The arched-window pair suits a low, wide castle front. This version works especially well on a tabletop because it creates a recognizable entrance without enclosing a large room.
Set the entrance first
Choose one open frame or double-door panel as the visual center. Place it on the flat surface, then add a short row of standard squares on each side. Keep the first row broad and low.
Place one arched-window square to the left of the entrance and the other to the right. They do not need to be mathematically symmetrical. Step back to see whether the entrance remains easy to spot and whether both windows read as a pair.
If one side looks crowded, remove a square instead of lengthening the opposite wall. This is a welcome hall, not an exercise in using every available tile.
Frame the top without burying the windows
A rectangle above part of the facade can create a simple visual band. Triangles may form a small roofline if they connect comfortably, but do not cover the arched windows or make the entrance hard to reach.
When the upper section shifts, return to the low facade. An open-top welcome hall leaves more room for hands and makes it easier for two children to play from opposite sides of the table.
Test and play
Use a quick front-view check:
- Can the child point to the entrance immediately?
- Are both arched windows visible?
- Can a hand reach the play area without pressing on the facade?
- Does one small change make the front clearer?
For pretend play, one child can be the host and another can be a guest arriving for a feast, concert, or delightfully overbooked royal tea. An optional paper welcome sign can lean nearby rather than being taped to a tile. Paper signs, toy figures, and pretend food are not included with the set.
3. Create a lattice-window courtyard wall
The lattice-style window pair works well in a low courtyard wall. This design adds a quieter section to the castle scene: a garden edge, a music court, or a place where residents pause between more urgent matters such as deciding who gets the last pretend muffin.
Put the windows where children can see them
Set the two lattice-style windows on the flat surface first. Place a standard square between them for a spaced arrangement, or position them next to each other for a compact feature. Add standard squares beside and below the windows to make a low wall.
Use a rectangle to extend one end if the play area allows it. An open frame can suggest a passage beside the wall. Keep specialty or fence-style pieces as optional decoration; do not assign them an unsupported mechanical purpose.
The main goal is to preserve a clear view of both lattice windows. If the wall starts to swallow them, shorten the wall. A feature piece should not have to file a missing-person report from behind three layers of roof.
Keep the courtyard reachable
Add one short side wall if children want a corner. Leave the opposite side open so hands can move figures or paper props without leaning over the structure. Skip a roof; the open space is part of what makes a courtyard easy to use.
If the wall separates when a child reaches past it, rebuild it lower or turn it so the open side faces the child. This is a practical play adjustment, not evidence that the idea failed.
Test and play
Ask the child to point to the two lattice windows from the front. Then place one optional figure or paper card in the courtyard and move it through the open side. If the wall stays out of the way during gentle play, the scene is ready.
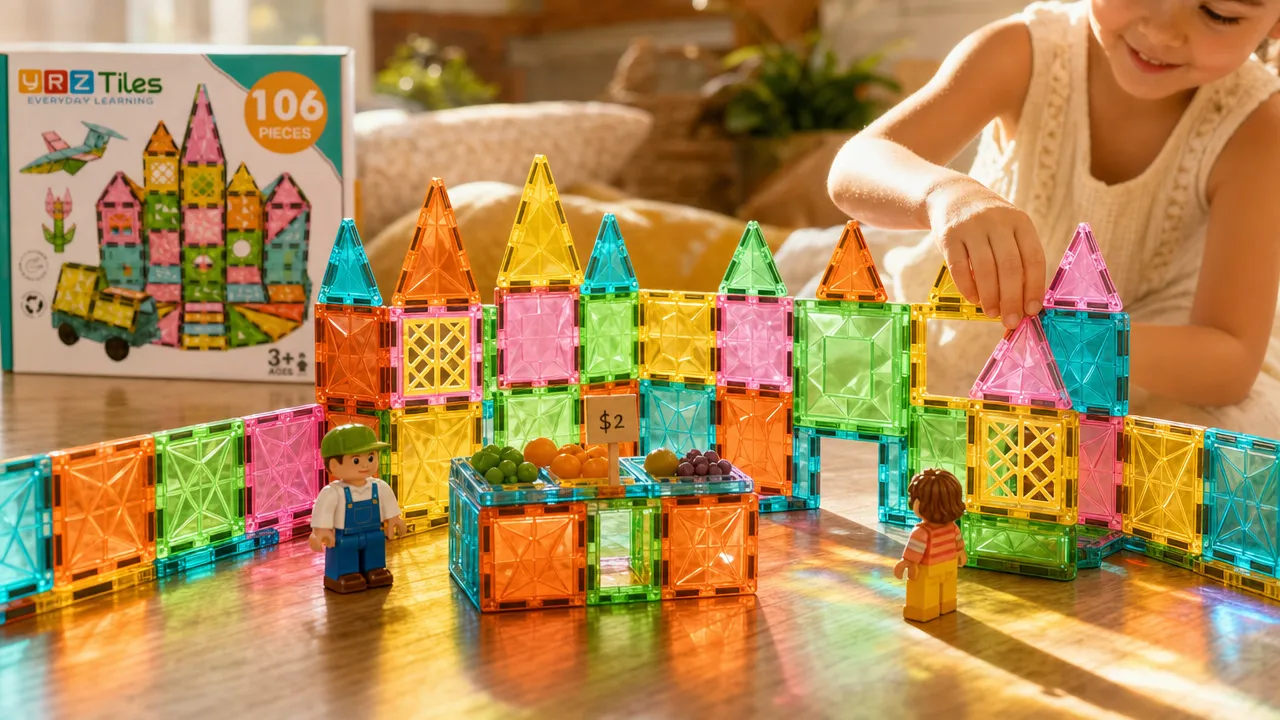
The courtyard can host a flower display, a map table, or a tiny music stage. Any paper labels, trays, pretend flowers, maps, or toy figures are optional and not included. Keep them loose, lightweight, and appropriate for the children using them.
Decide whether to connect or rebuild
The three sections do not have to stand at the same time. A family with a small table can build the round-window tower, photograph it if desired, take it apart, and reuse the basic tiles for the arched welcome hall. Then the same wall pieces can become the lattice courtyard.
Rebuilding has two advantages: children get three complete turns with the specialty pieces, and nobody has to guard a dwindling pile of standard squares. It also makes a natural plan for three short after-school sessions.
If you do have enough space and pieces to place the sections together, connect them with low wall segments. Add one segment at a time and stop before the layout reaches the edge of the table or blocks a walkway. The specialty-window sections should remain easy to identify; connecting walls are supporting actors.
When two builders disagree about the layout, use the windows to divide the decisions. One person chooses where the round-window section faces. The other positions the arched-window section. Decide together where the courtyard leaves an open side. Then switch decision roles during the next build.
Revise without restarting everything
Magnetic-tile structures often change halfway through. A roof leans, a wall consumes too many squares, or the tower is suddenly declared an observatory. Keep the revision small.
Try this routine:
- Leave the matching window pair in place.
- Name the one problem you can see: too tall, too crowded, hard to reach, or too close to the edge.
- Remove one supporting section.
- Rebuild lower, shorter, or more open.
- Check whether the windows are visible and the play area is reachable.
This routine gives children something specific to change. It also protects the part they may care about most: the two matching windows that made the section feel special in the first place.
For a child who feels upset when a wall falls, preserve one small part and rebuild around it. Holding onto a two-window facade can make the next attempt feel like a repair rather than a complete loss.
Match the castle to the time you have
For a 15-minute session, choose one window pair and make only a facade. Add one sentence of story, take a picture if desired, and clean up. Short play can still have a clear beginning and ending.
For a longer weekend session, build each section separately before connecting anything. Pause for a snack or other activity between sections. A break is often more helpful than pushing through the moment when every remaining square suddenly seems essential.
When pieces run low, keep the specialty windows and remove generic wall sections. When space runs low, turn a corner build into a flat facade. When attention runs low, skip the roof and begin the story. The most memorable detail is likely to be the royal tea's questionable guest list, not whether every wall was complete.
Reset the window pairs for next time
Take down any optional roof pieces first, then separate the wall sections. Find all six specialty windows before packing the basic tiles: two round, two arched, and two lattice-style. Keeping each pair together makes the next build easier to start.
Let an adult inspect the pieces during cleanup. This is an Ages 3+ activity, and an adult should inspect all pieces before play. Stop using any cracked, separated, or damaged piece, including a piece with an exposed or missing magnet. Keep magnet-containing pieces away from younger children. If magnet ingestion is suspected, seek immediate medical attention. Caregivers can also review the U.S. Consumer Product Safety Commission's magnet safety guidance.
You do not need a twelve-room castle to make the windows matter. Build one short section, keep the matching pair visible, and give it a small role in the family story. Round, arched, or lattice-style: each pair can make a corner of the kingdom feel finished before dinner arrives.